Photographer Client Guide Templates: 5 Reasons Why I Love Them

Best Ways to Use Notebooks for Scheduling: A Photographer’s Guide
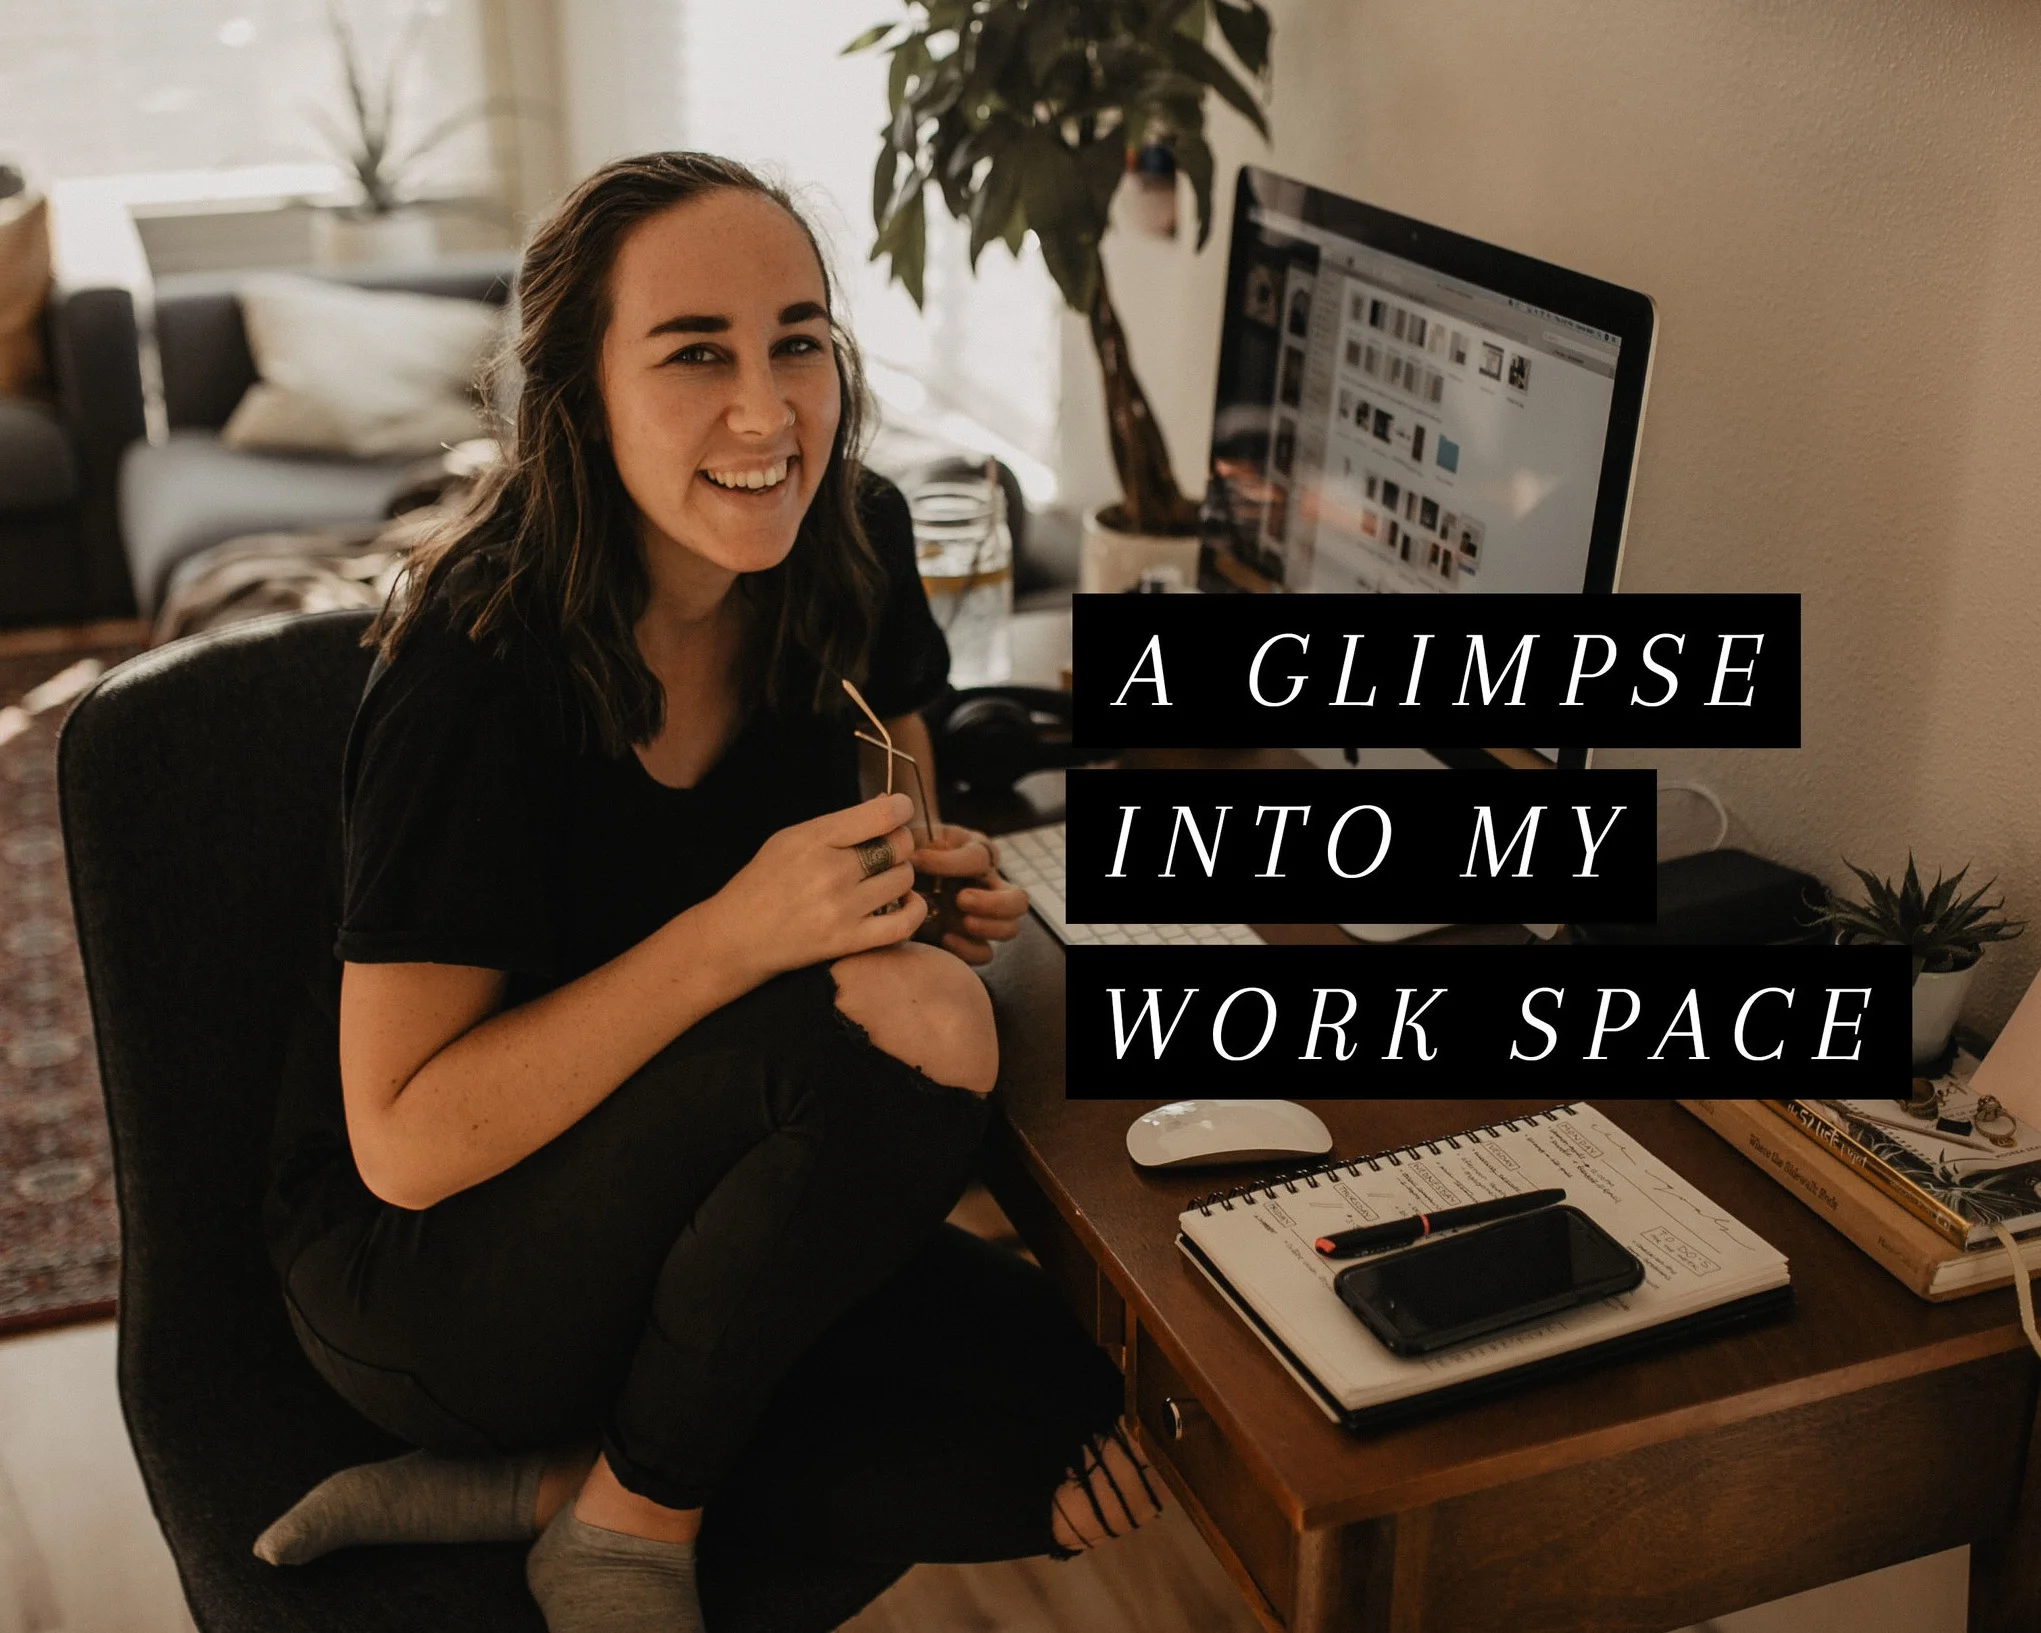
A Wedding & Elopement Photographer’s Key to Staying Organized
As photographers, we juggle a lot—client meetings, shoots, editing, marketing, and more. Staying organized can feel like a full-time job in itself, especially when you’re wearing all the hats. That’s where the humble notebook comes in. Far from being old-fashioned, a thoughtfully curated notebook system can help you streamline your schedule, track your goals, and keep your creativity flowing.
Below, I’ll share my favorite ways to use notebooks for scheduling, plus a few tips on blending traditional note-taking with modern tech—so you can stay focused and on top of your game.

Map Out Your Weekly Workflow
Photographers deal with a mix of tasks: shooting, editing, emailing clients, and marketing on social media, just to name a few. Dedicate a notebook page to plan your entire week, allocating time blocks for each task type. This helps you see your commitments at a glance, making it easier to stay on track.
Pro Tip: At the end of each week, review what worked and what didn’t. Refine your weekly planner for the following week based on any obstacles or time sinks you discovered.
(Need help brainstorming or breaking down your weekly tasks? My ChatGPT blog post covers how AI can help you organize shoot schedules, marketing strategies, and more!)

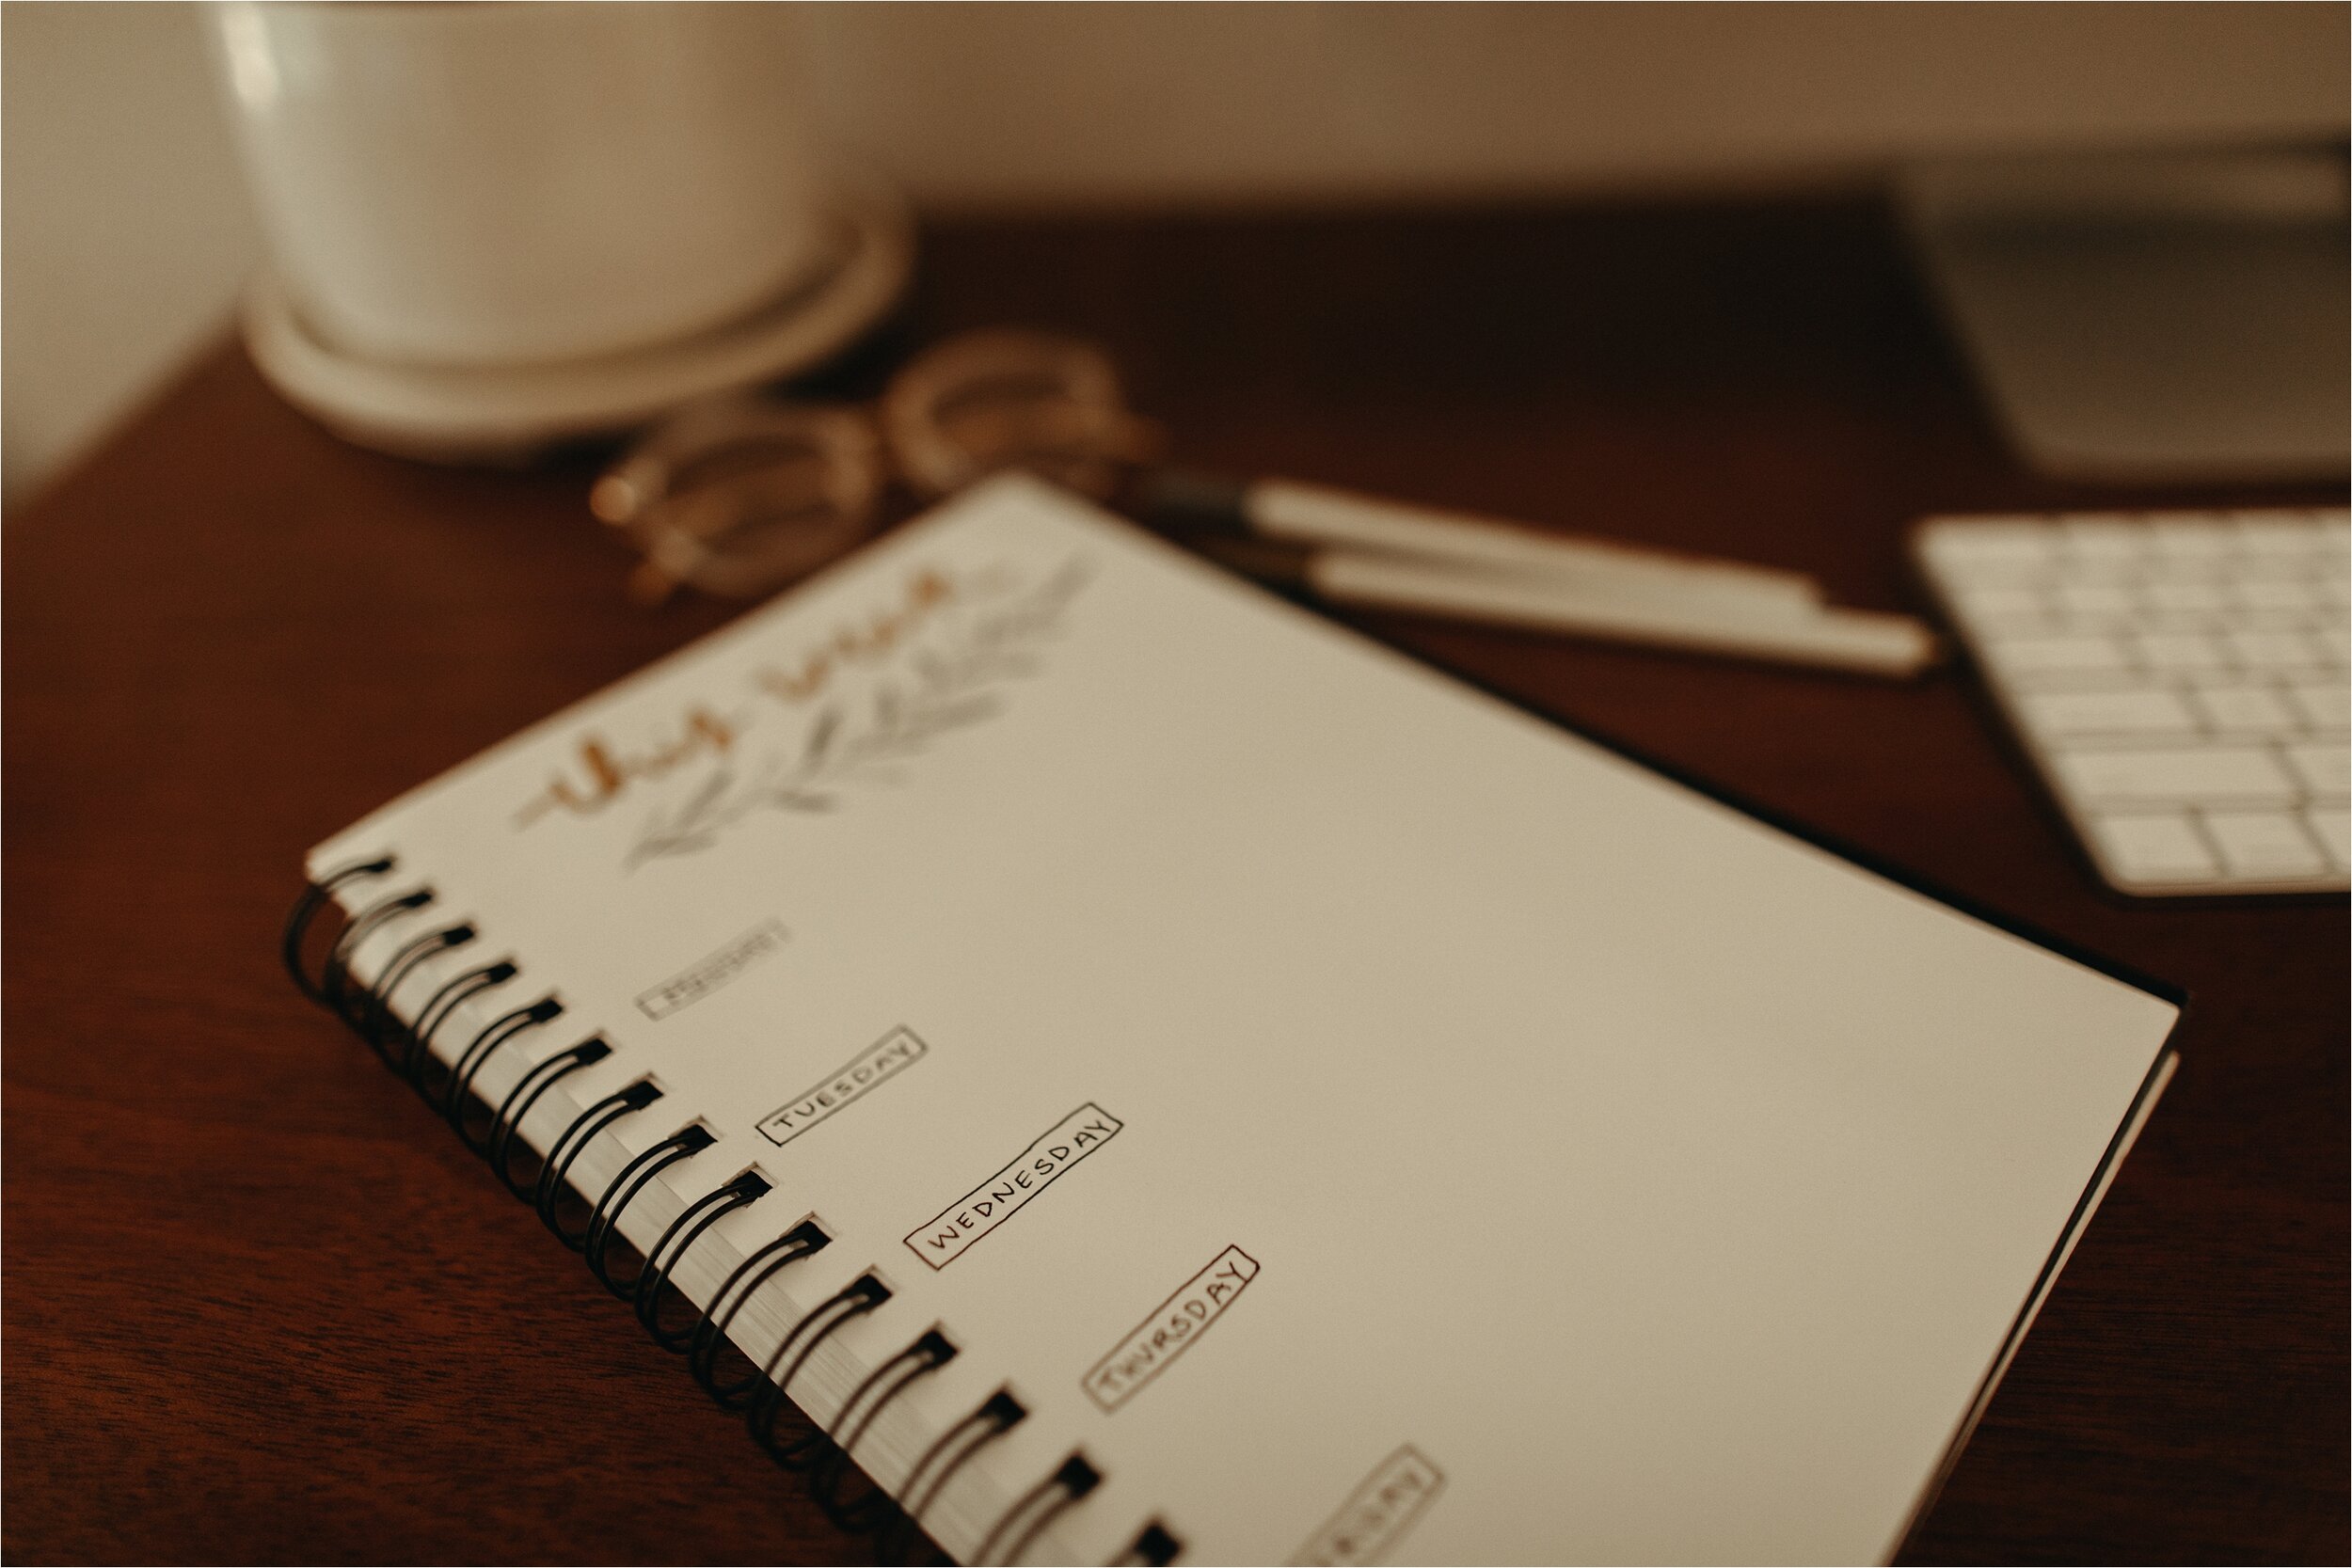
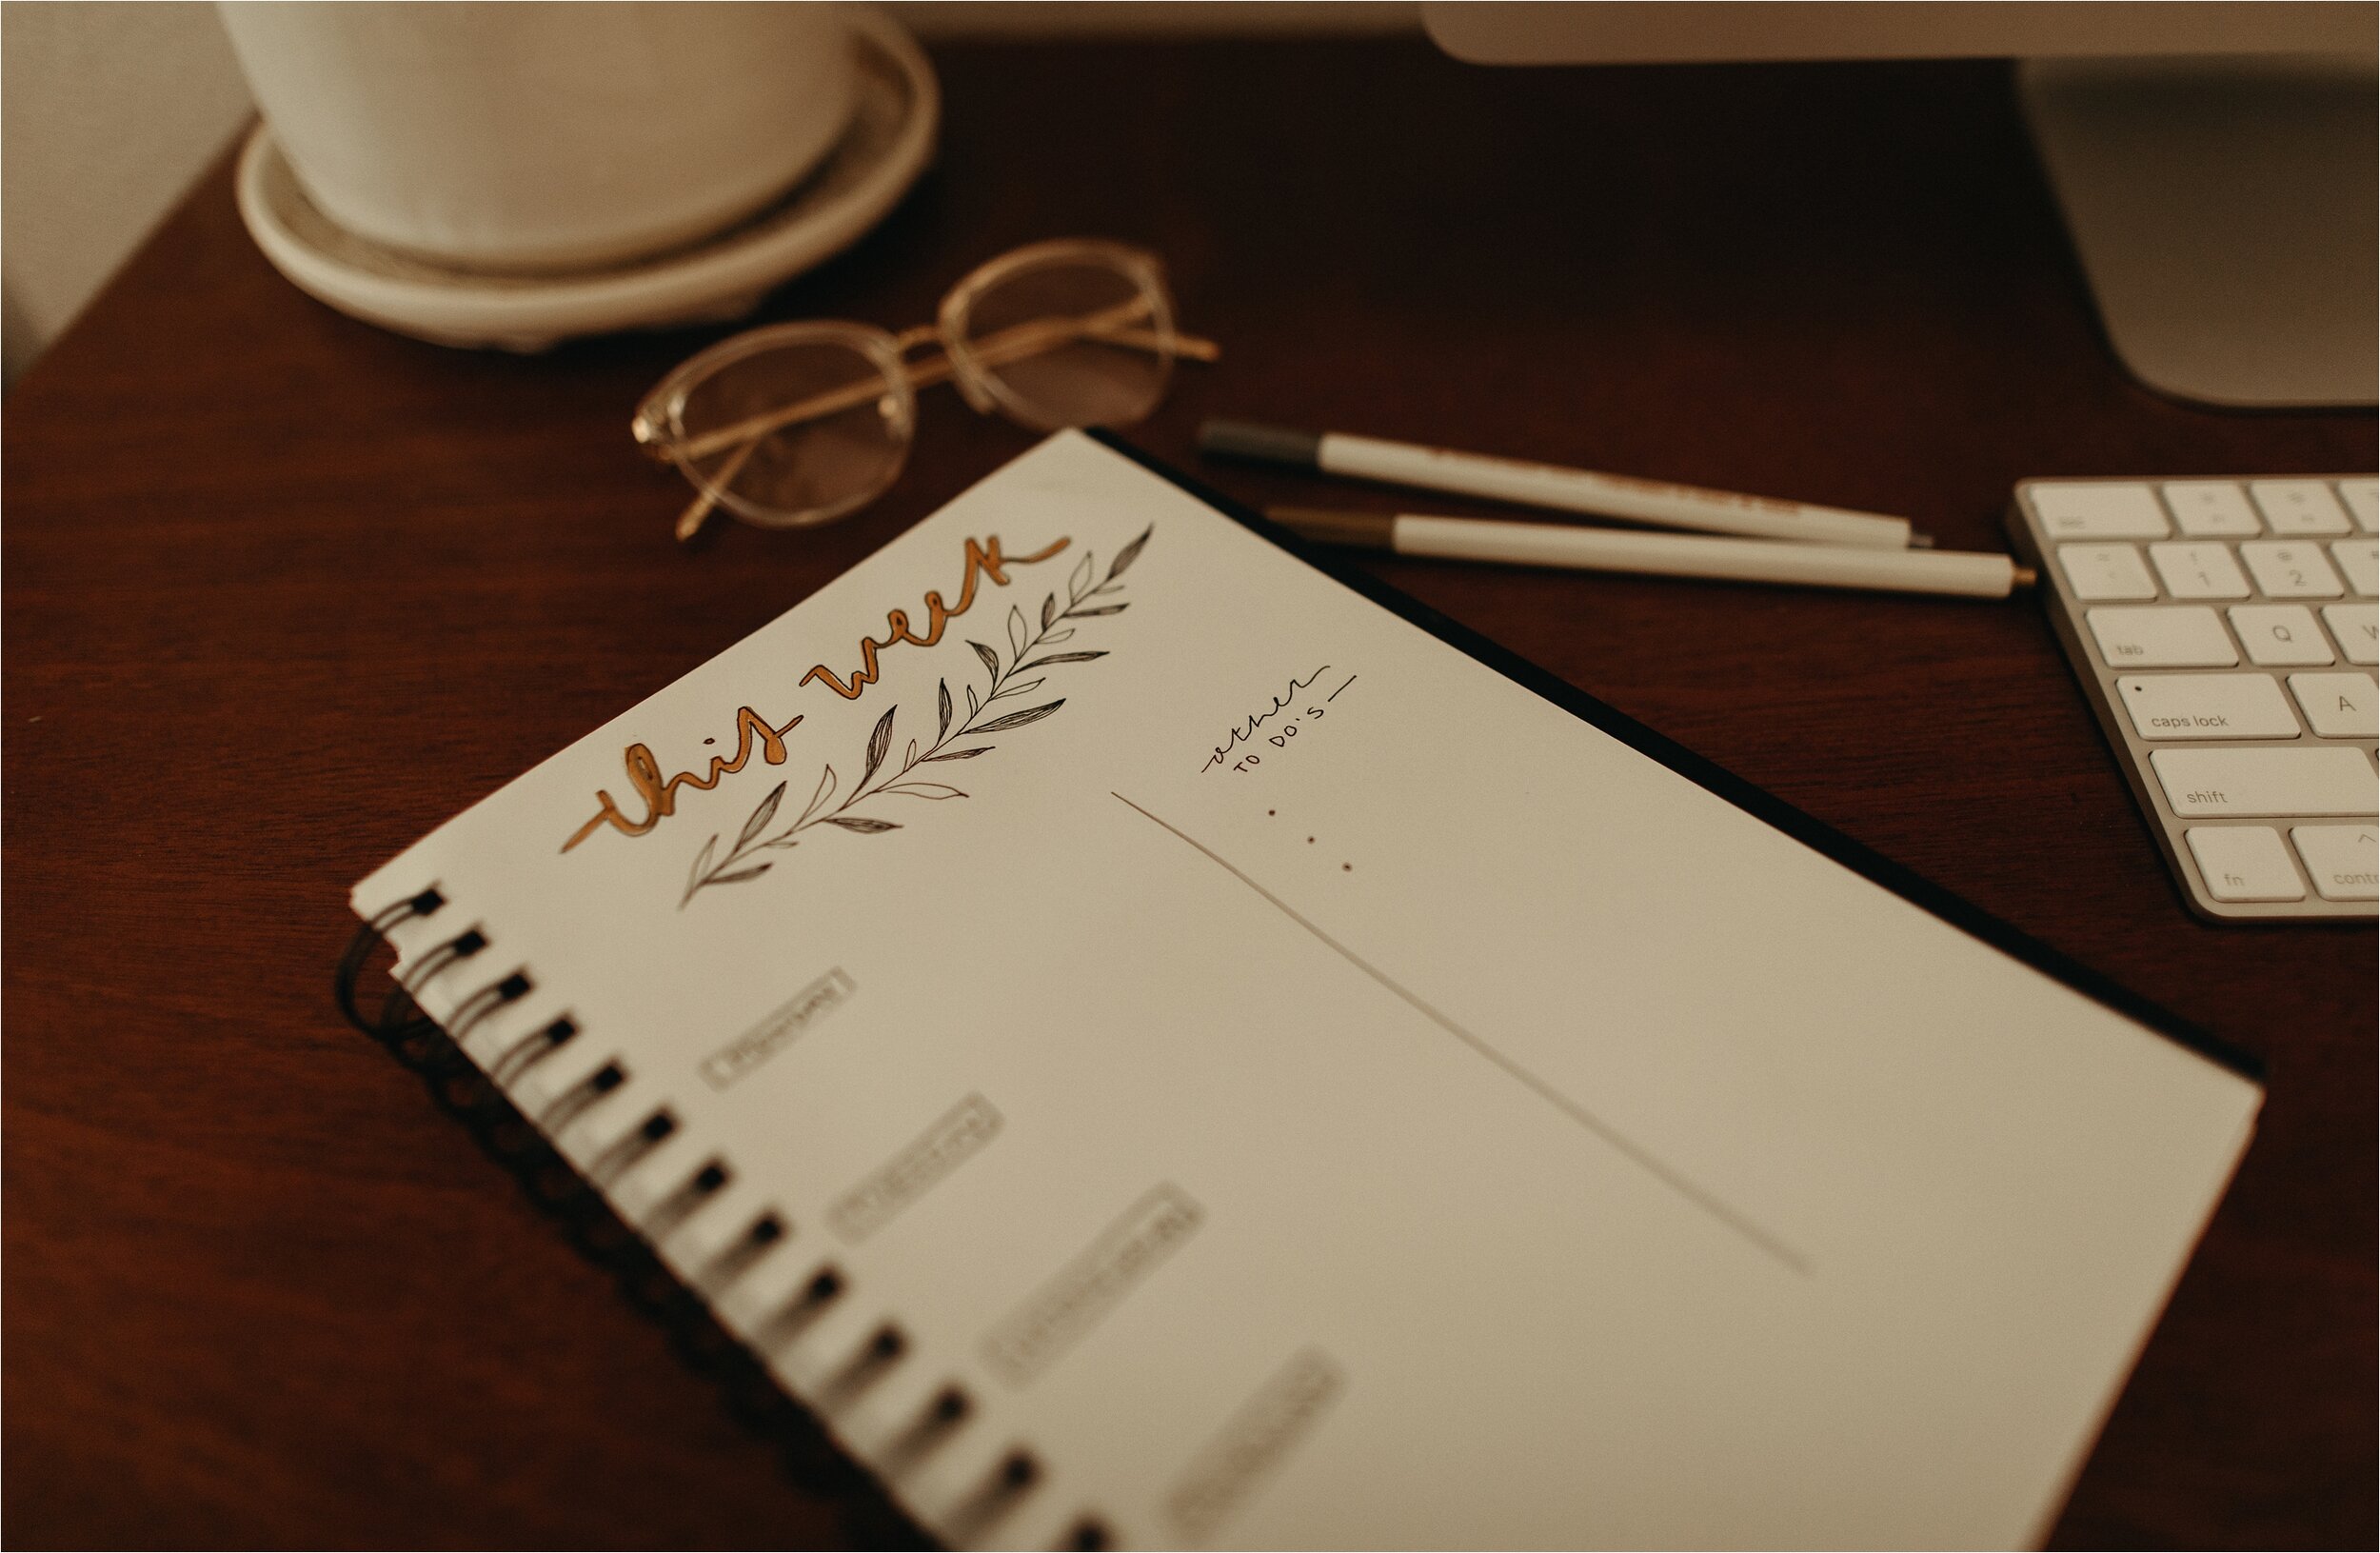
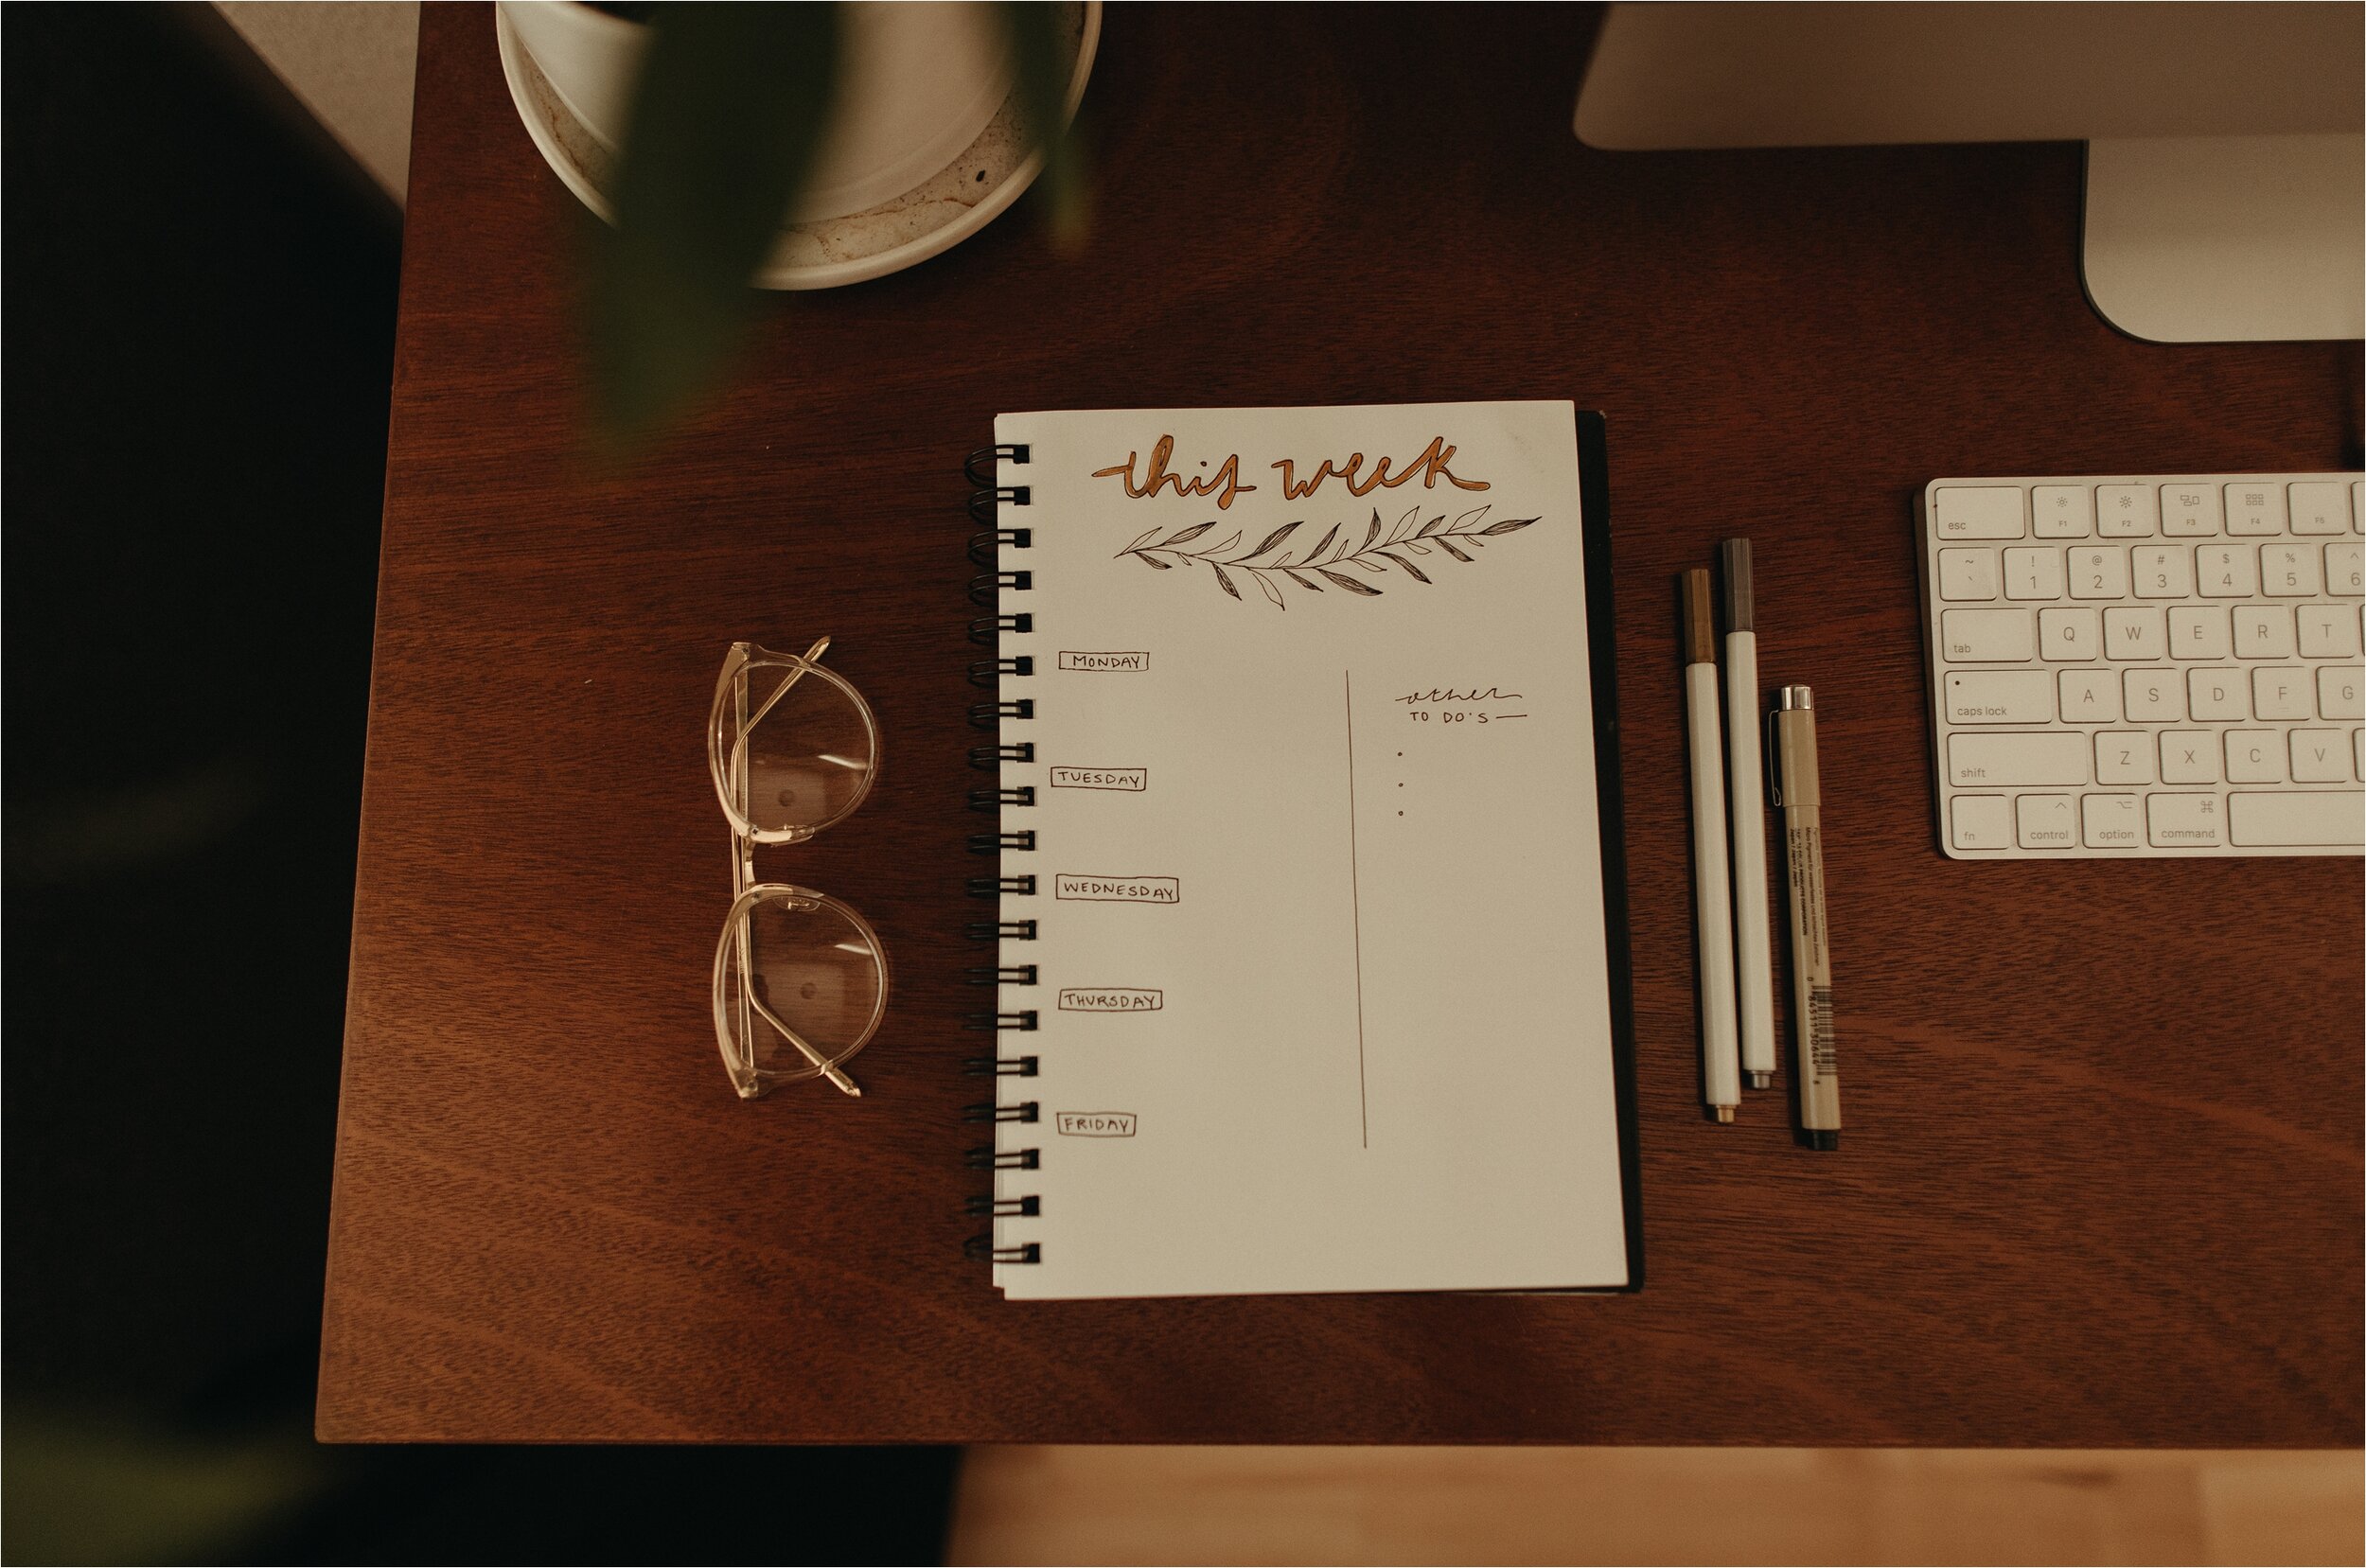
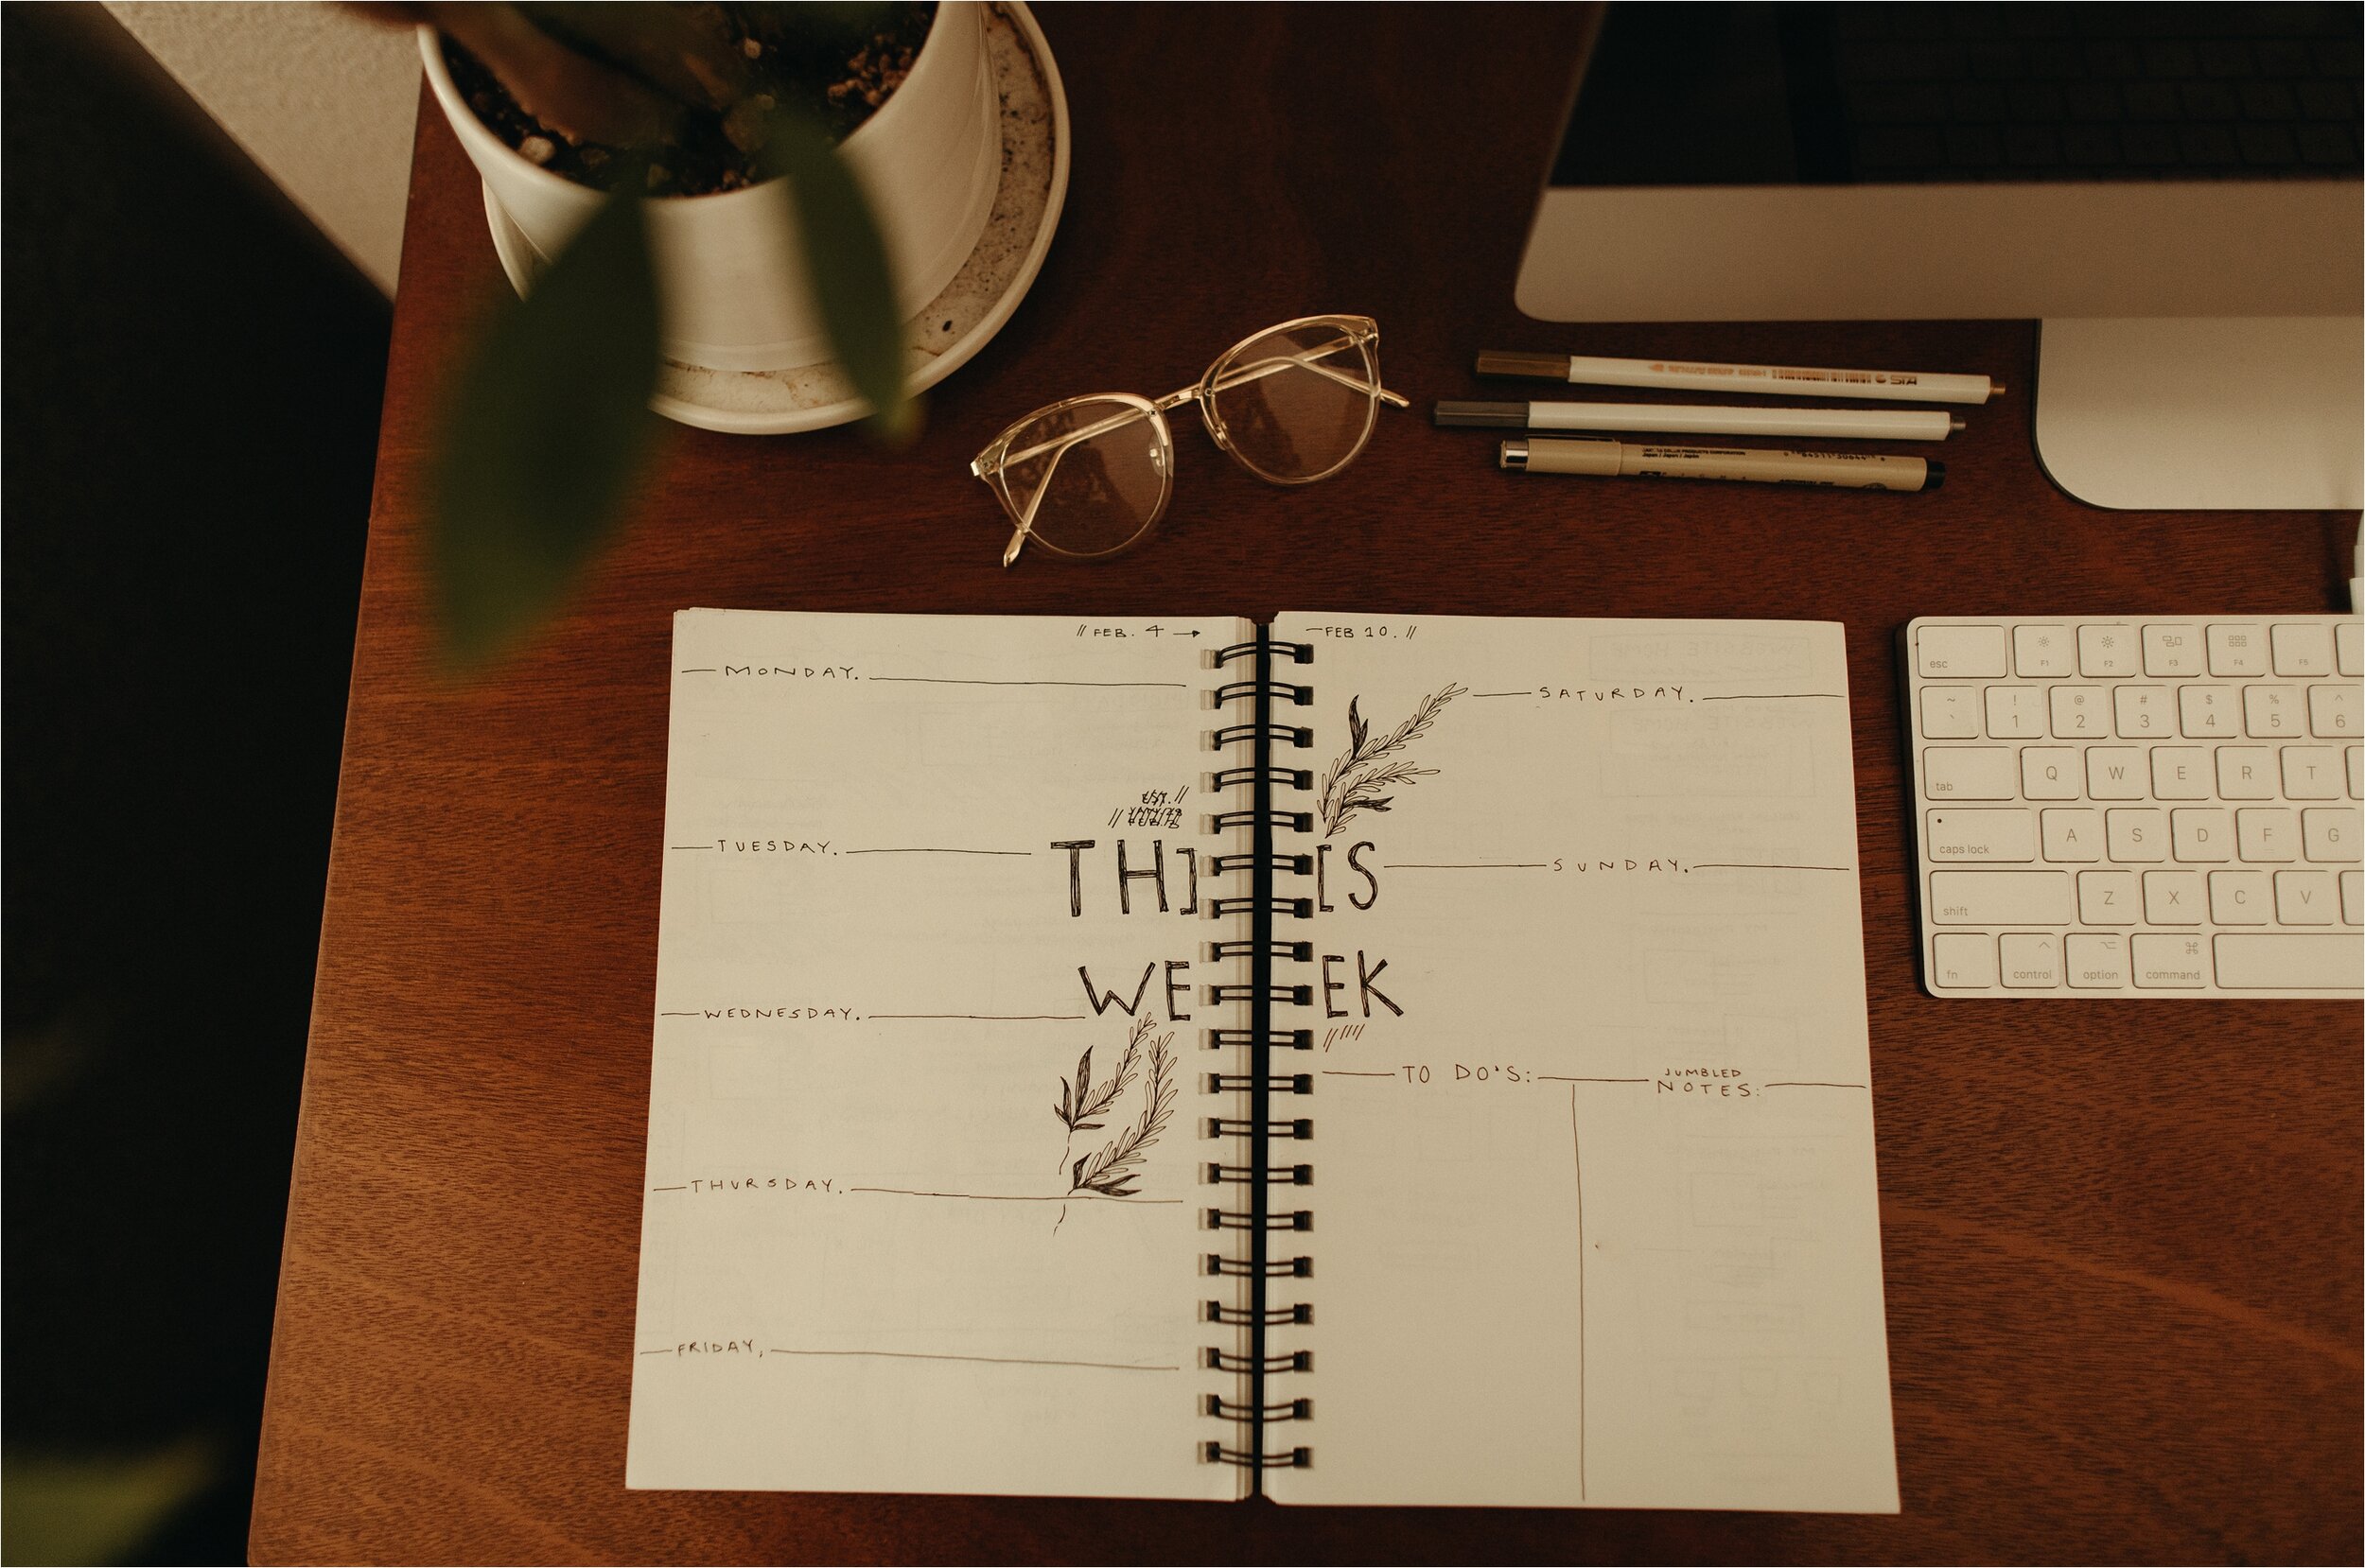
My Step-by-Step Layout
Days of the Week
Start by mapping out the days you plan to work. This approach is highly customizable—if you usually take certain days off (for example, Wednesday and Thursday to match your spouse’s schedule), simply skip those days to keep your layout clean and focused.Main Goals
Next, assign a primary focus or goal to each working day. For example, Monday might be reserved for editing, Tuesday for website updates, and Wednesday for photo shoots. There can be multiple “pillars” in a single day, but having these broad goals helps you prioritize effectively without overwhelming your schedule.Daily Tasks
Add smaller, time-sensitive tasks to each day—such as emails, social media, or other recurring responsibilities. If needed, note how much time you want to spend on each task to prevent it from expanding beyond your intended schedule.Important Deadlines
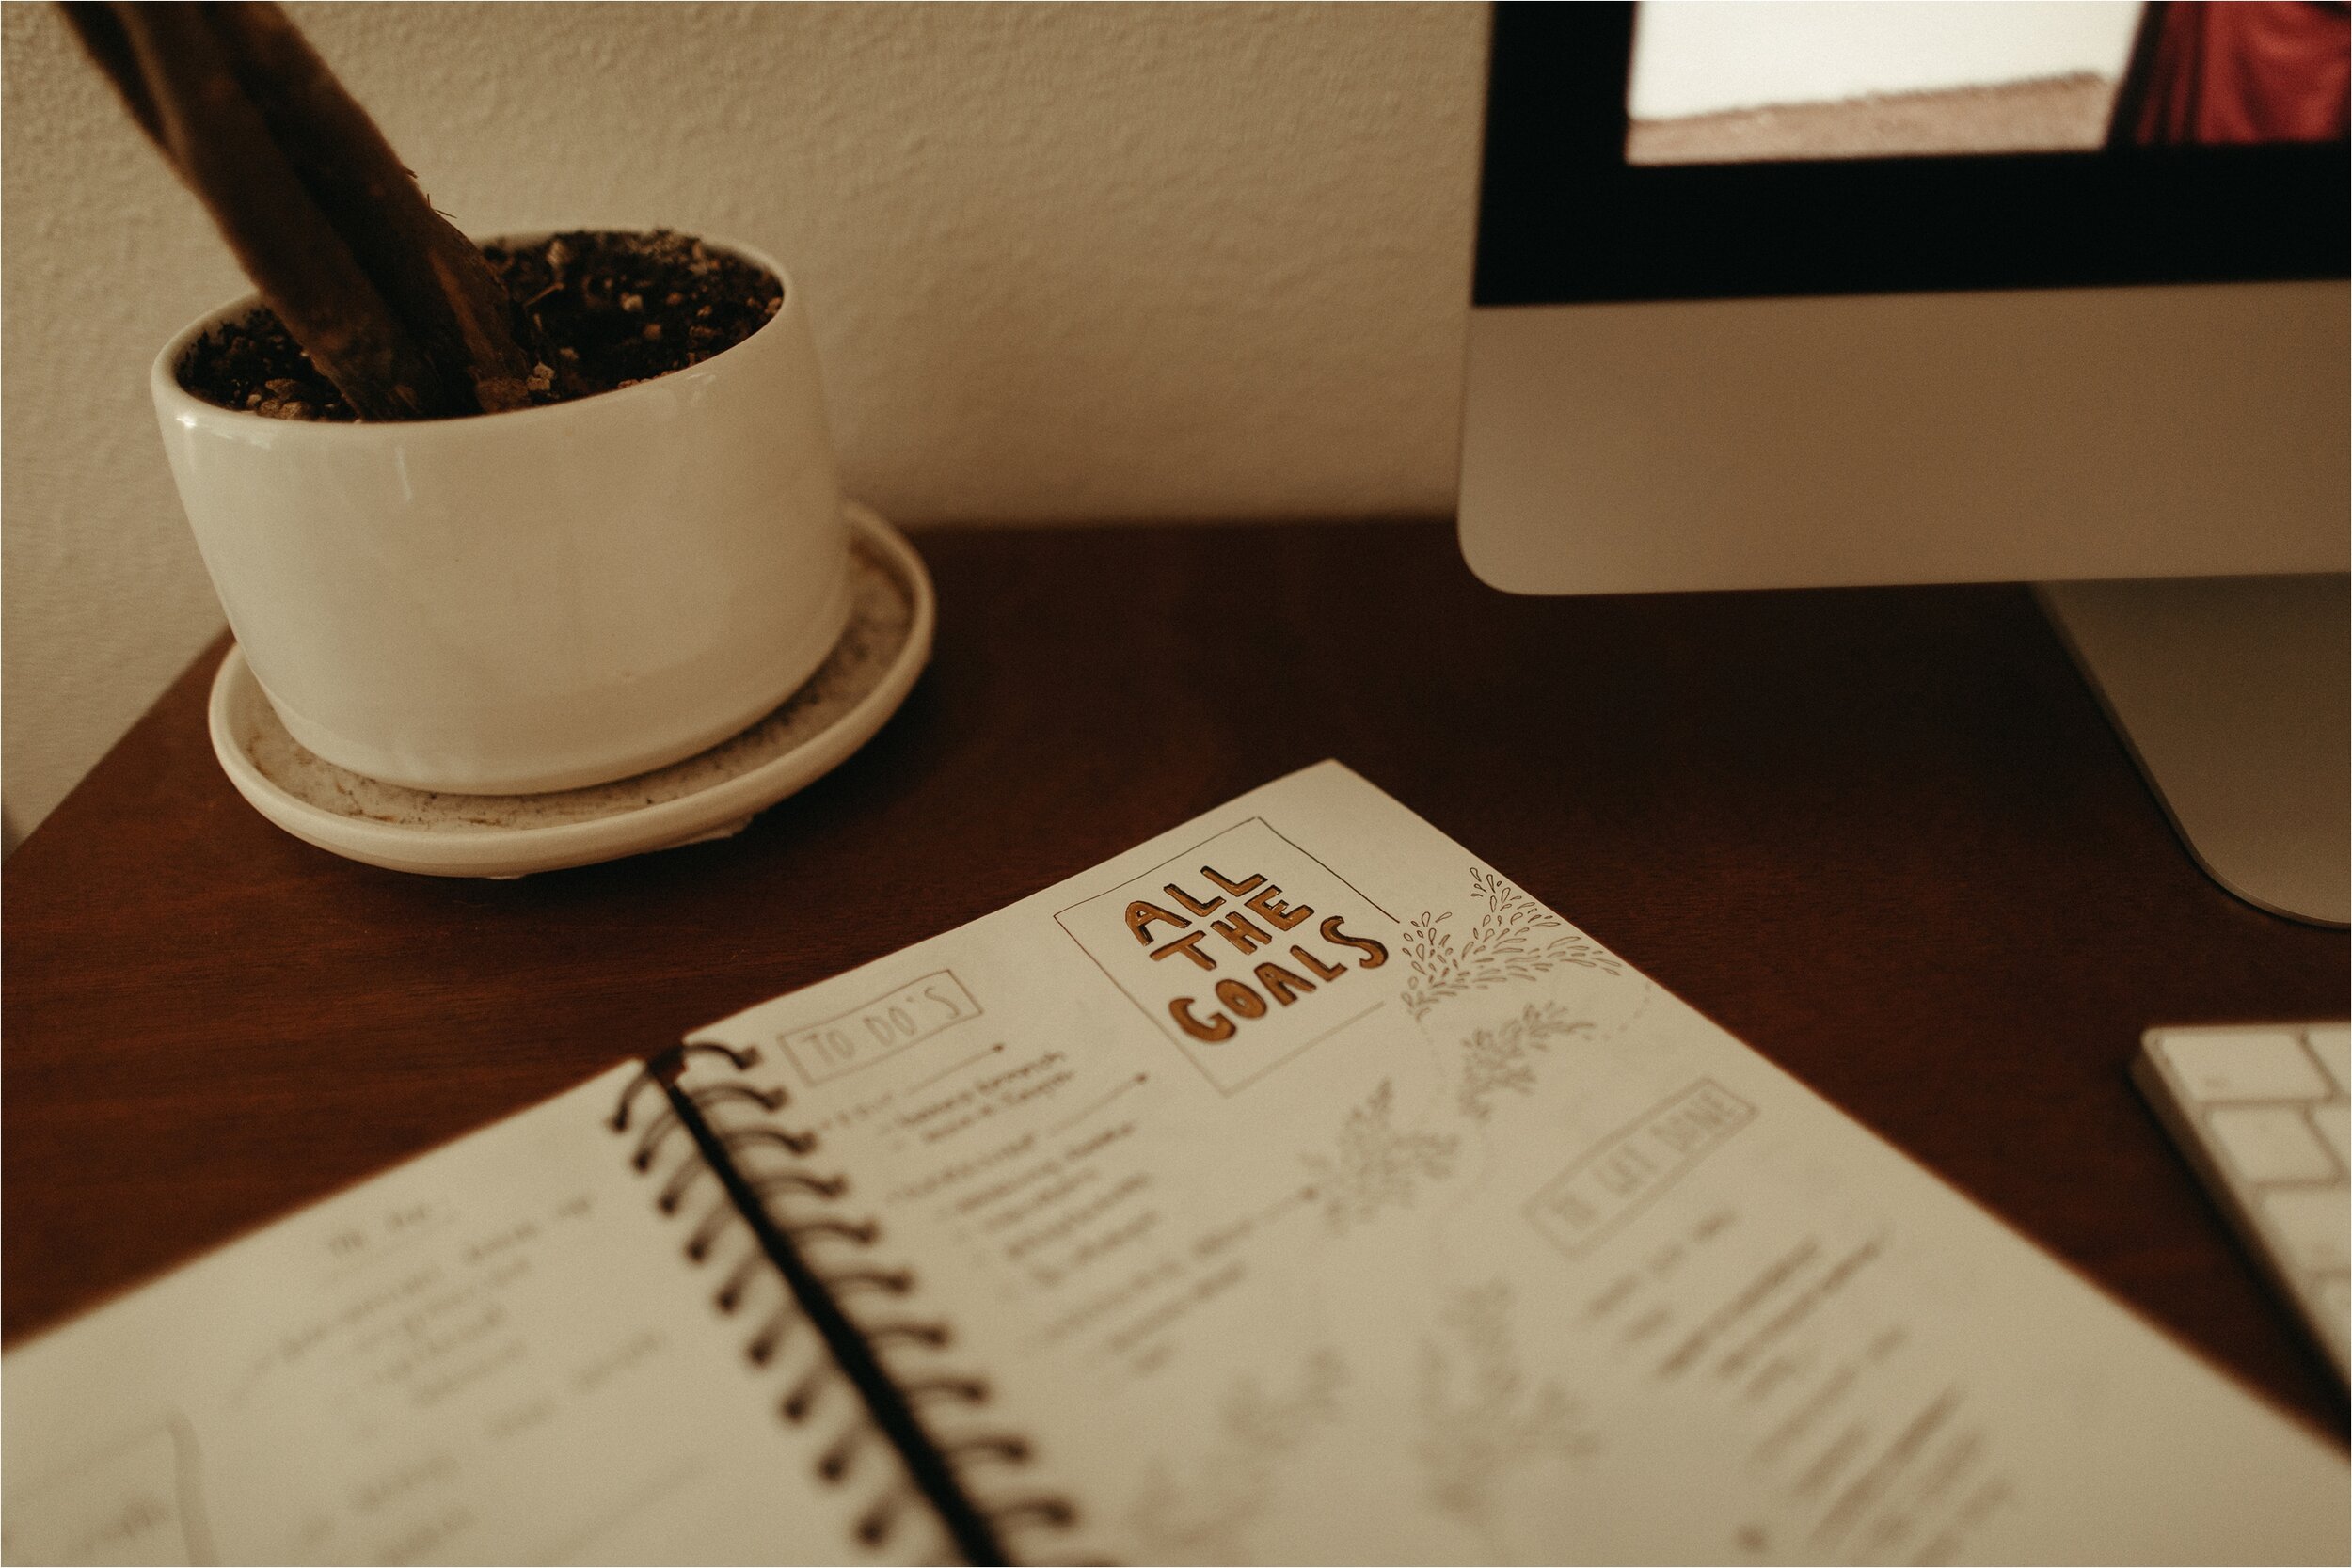
If a specific gallery needs delivering, a client follow-up is due, or a blog post requires final prep, list these deadlines under the exact day they must be completed (e.g., “DUE: Send X their gallery”). Keeping deadlines visible helps ensure nothing crucial slips through the cracks.A Running To-Do List
Lastly, include a dedicated space in your notebook for spontaneous ideas, last-minute tasks, or “brain dumps.” This running list is a quick reference you can consult throughout the week, moving items into your daily plan as time permits.


Additional Things I Love About Notebook Planning
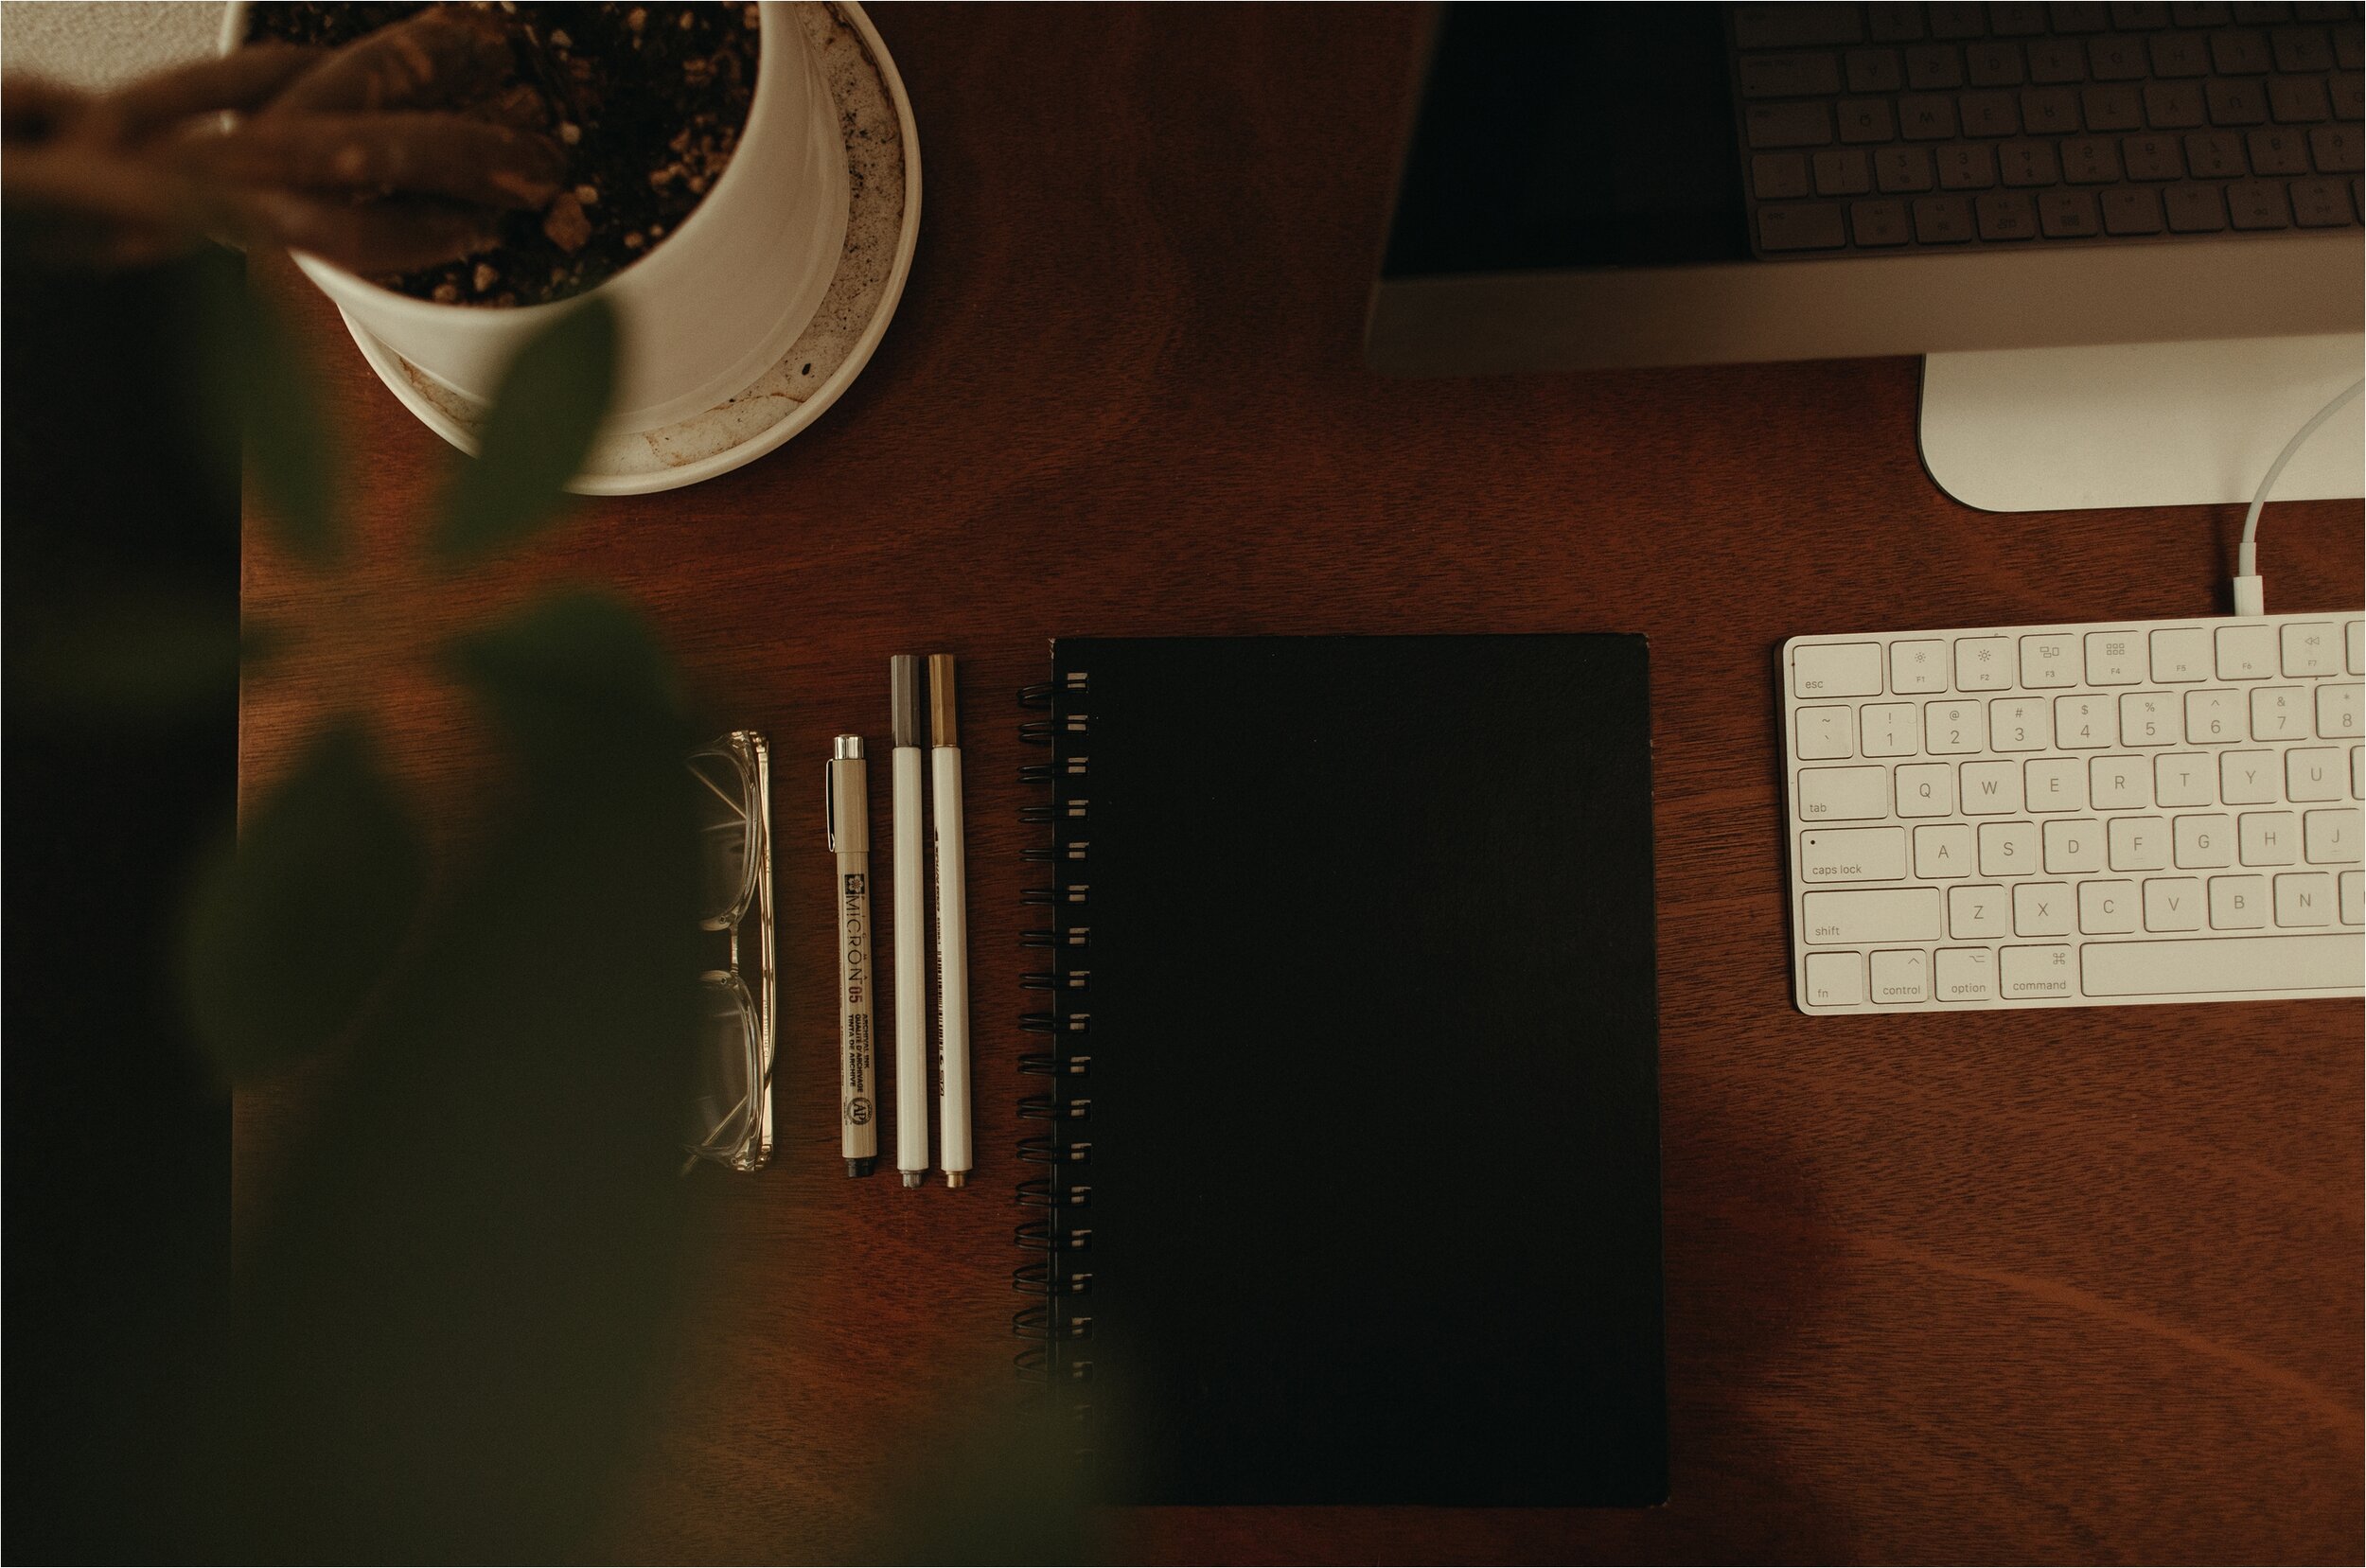
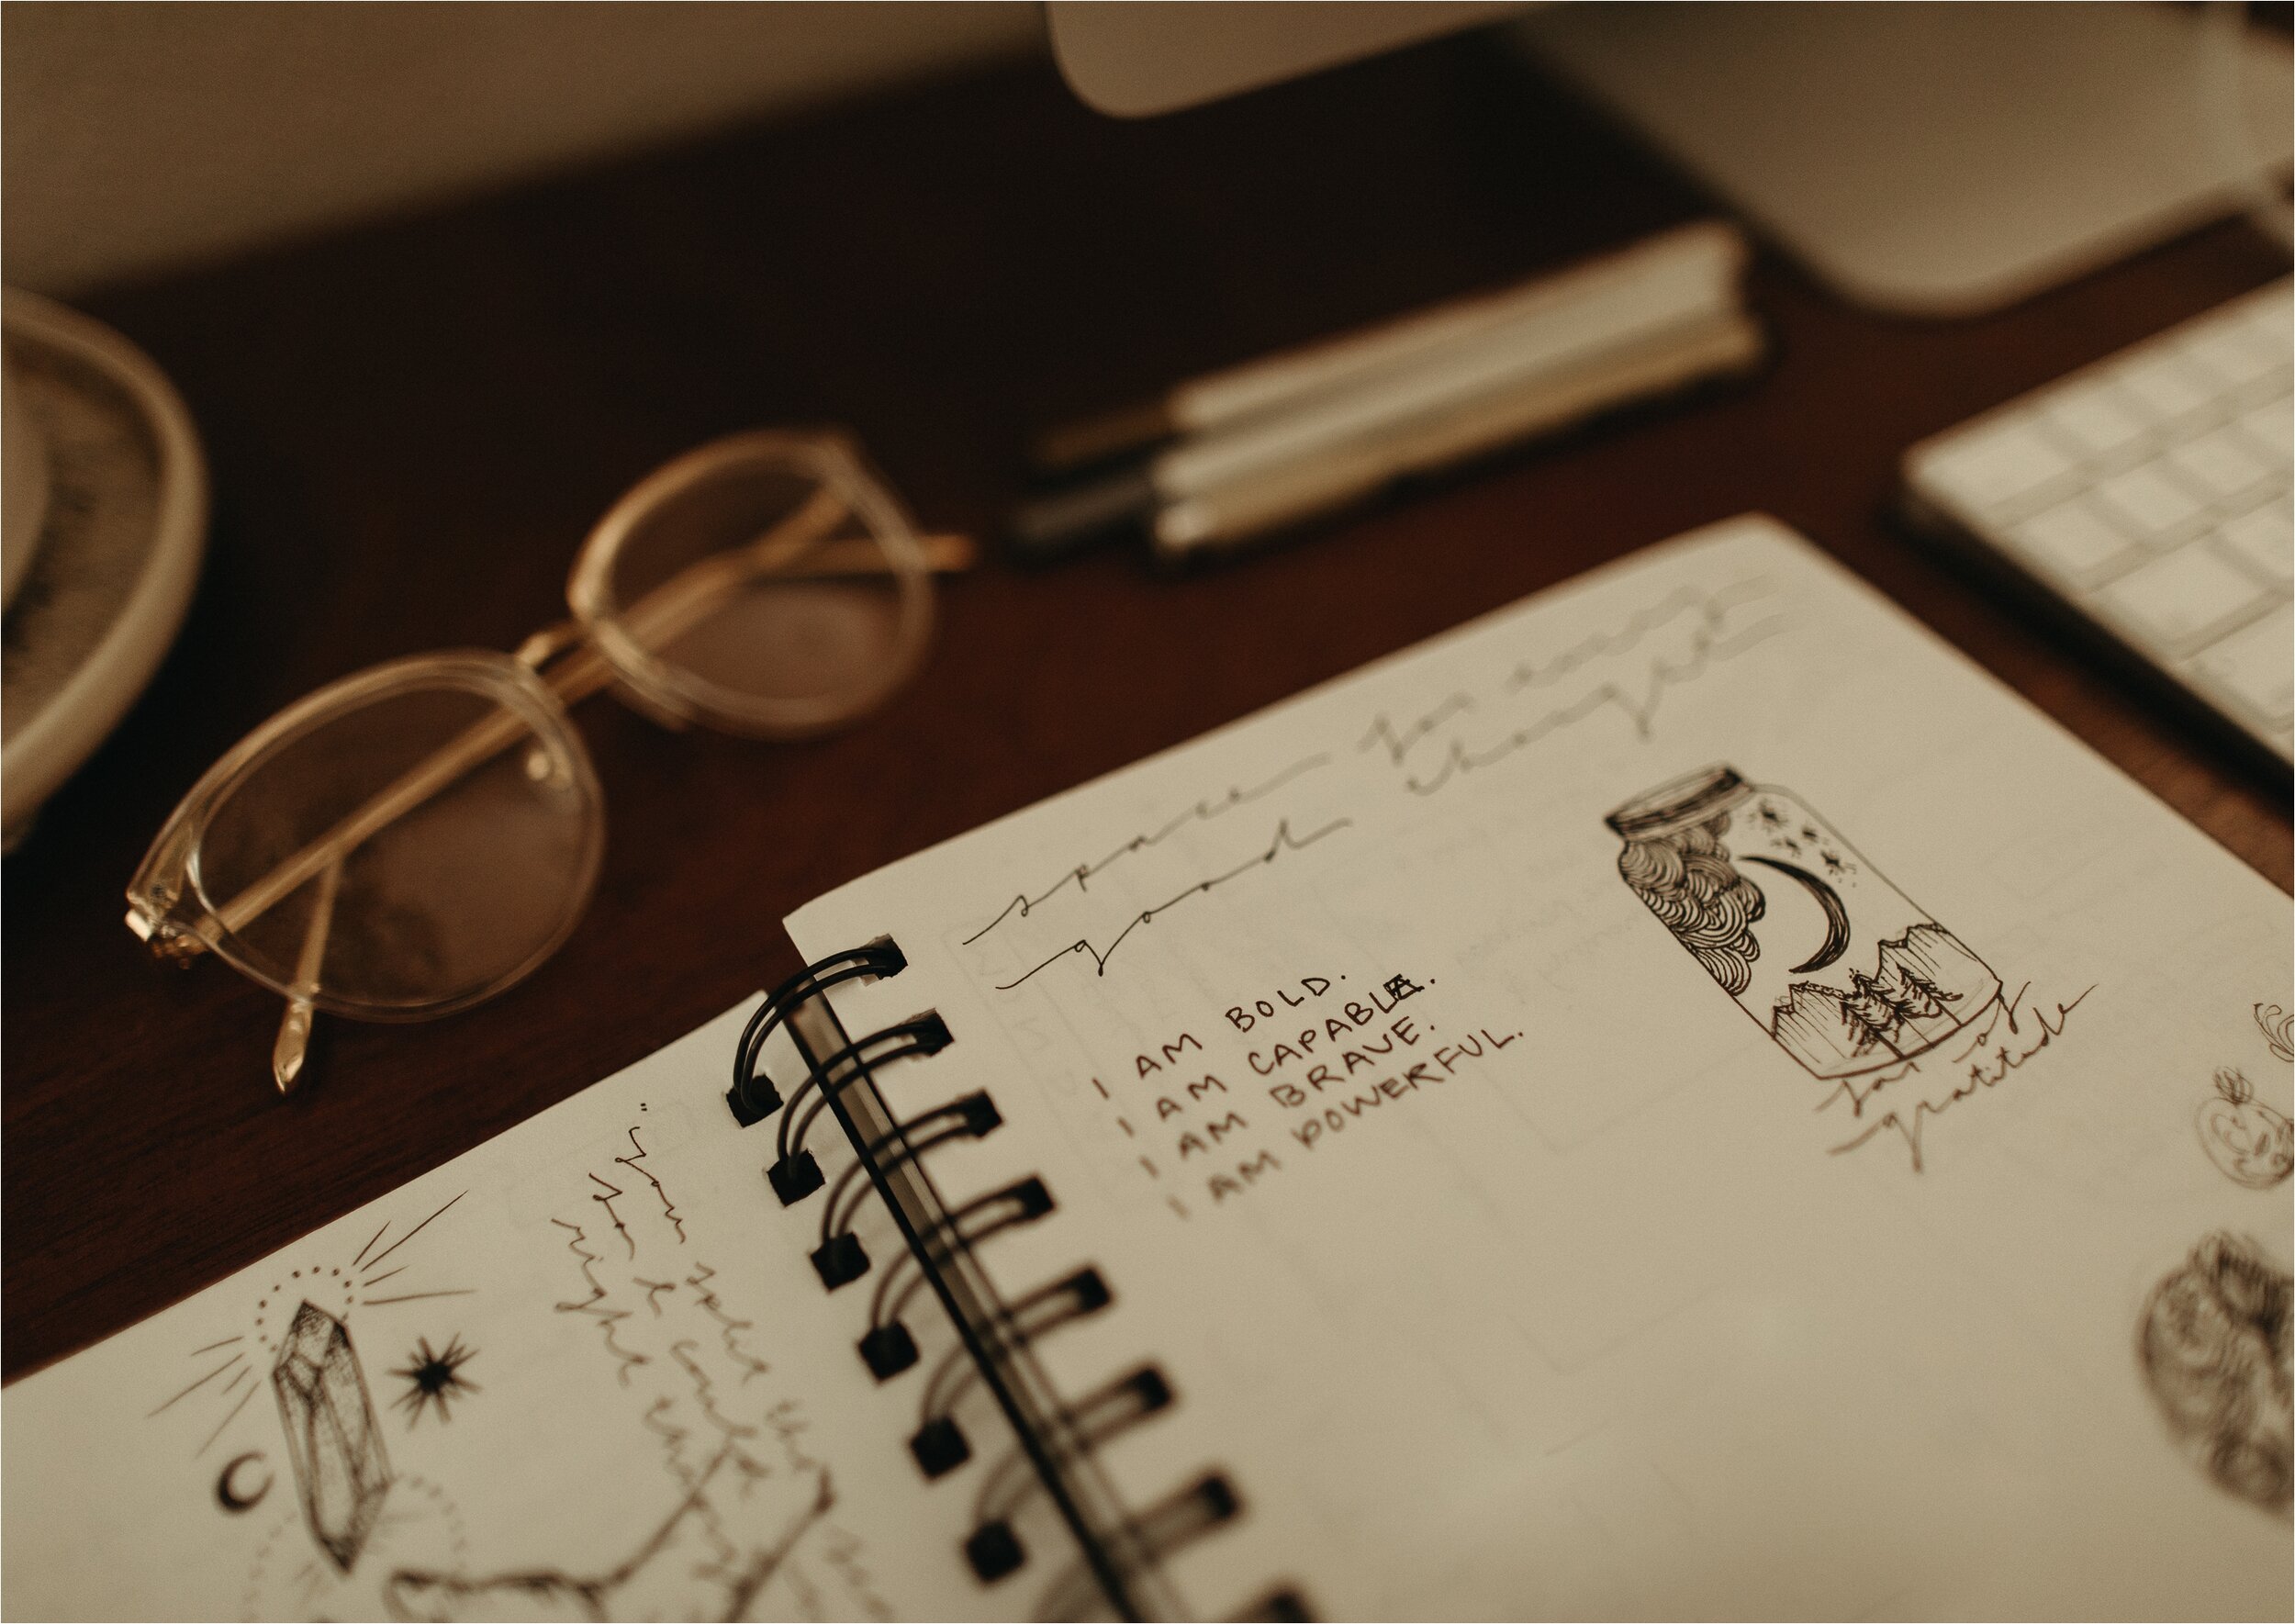
Keeping It Visual
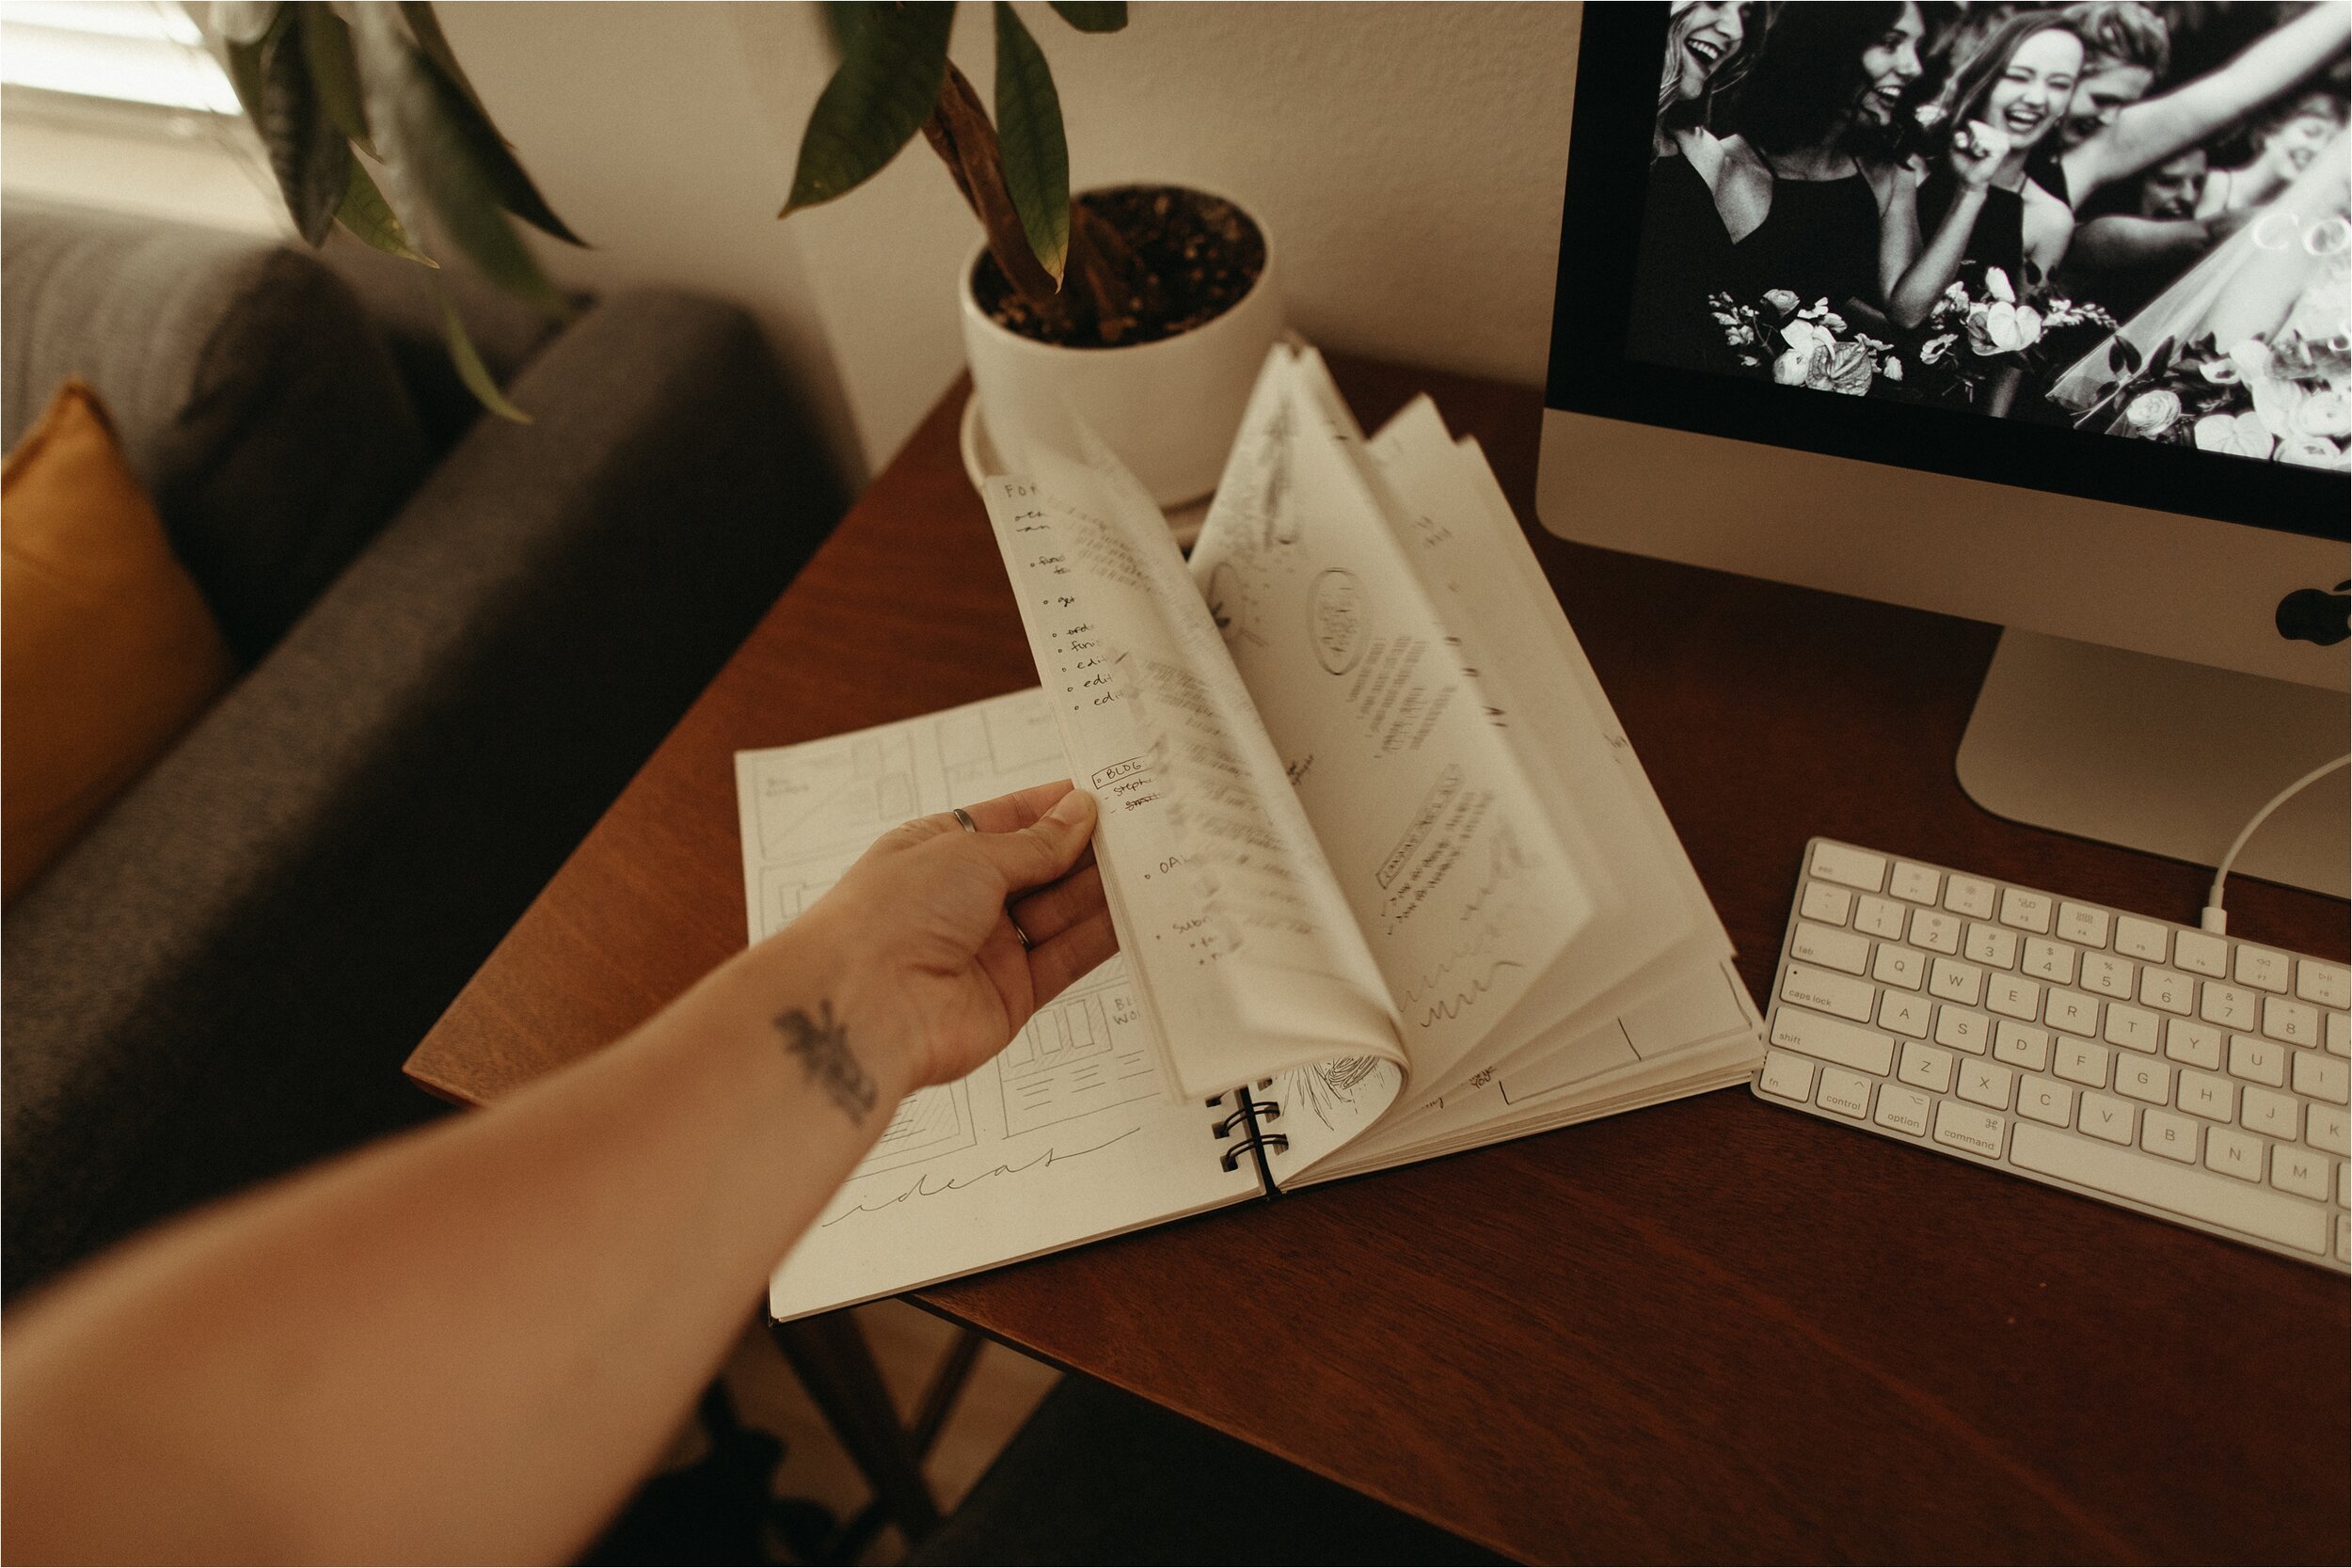
I enjoy merging my goal-oriented mindset with my creative instincts. Every Sunday evening or Monday morning, I’ll sit down to design my weekly layout—often while watching a movie or listening to a podcast. I doodle, add stickers, play with color schemes, and truly make it my own. It’s a therapeutic, enjoyable way to ease into the week and cultivate a sense of flow.Creating Other Pages
Beyond weekly planning spreads, I use blank pages for brainstorming, jotting down business ideas, and sketching out design concepts for my guides and website. This flexibility allows me to capture inspiration whenever it strikes, all in one place.Embracing Flexibility
As a photographer, no two weeks are the same. This planning style provides the freedom to structure my schedule exactly how I need to, adjusting for shoots, editing sessions, and everything else that pops up. It’s a system that evolves with my workflow—keeping me both organized and inspired.

Integrate Notebook Planning with ChatGPT
Yes, a notebook is a fantastic tactile tool, but combining it with the power of AI can multiply your productivity. Here are a few ways to merge both for better scheduling and organization:
Task Breakdown
Jot down broad tasks in your notebook—such as planning a workshop or organizing multiple client shoots—and feed them into ChatGPT to get an itemized checklist or timeline. This approach helps you tackle large projects methodically.Scheduling Overhauls
If you find your current schedule a bit chaotic, let ChatGPT analyze what you’ve sketched out in your notebook and propose a reorganized timetable. It can offer ideas for more balanced time blocks, ensuring you stay on top of each work session without feeling overwhelmed.
(For a deeper dive, here’s my ChatGPT blog post on how photographers can optimize their workflow with AI. It’s a game-changer when combined with traditional note-taking!)
This is the notebook I always order and re-order (it’s my favorite) if you want to check it out


My 5 Tips for Working While Traveling
What's in My Bag as a Wedding Photographer: My Favorite Gear
My Favorite Wedding Photography Gear: A peek into my bag

Wedding & elopement photography is all about capturing life’s most joyful moments in a way that’s both creative and timeless. Having the right gear plays a huge role in that process. Over the years, I’ve tested a range of cameras, lenses, and accessories to fine-tune my setup. Below, you’ll find a breakdown of my favorite gear and the reasons I reach for each piece at every wedding I shoot.
I. CAMERA BODIES
I rely on my two Canon EOS R6 Mark II Mirrorless Cameras - their reliability, superb autofocus, and impressive low-light capabilities are incredible. Weddings often involve a wide range of lighting situations—dimly lit chapels, vibrant outdoor ceremonies, and everything in between. This camera consistently delivers sharp images and vibrant colors, even in challenging environments.
Pro Tip: Have a backup camera body on hand, just in case. You never want to be caught without a working camera on such an important day.
I get asked what other cameras I would recommend if you’re just getting started - I would say these are two levels of camera bodies that are also equally great for starting out: 1. the Canon EOS Rebel T7 DSLR Camera Bundle (comes with a lot of extra goodies) and 2. the Canon EOS 60D is also a great camera to start with!
II. LENSES
These are my favorite lenses in order of what I use most:
Canon - RF28-70mm F2 L - This lens is incredibly versatile. I can move from a wide group shot to a mid-range portrait without changing lenses. It’s my go-to when I’m moving around quickly—especially during getting-ready moments or on the dance floor.
Canon EF 24mm f/1.4L II - The wide angle on this is AMAZING for epic landscape locations!
Canon EF 35mm f/1.4L II - I could shoot a whole wedding on the 35 honestly.
Sigma 85mm f/1.4 - this is a beautiful lens for ceremonies and toasts, it allows you to get that soft up close focus without “feeling in the way.” I love it! It’s a great cheaper back up lens option.
Things to consider with lenses —
Wide-Angle Lens (e.g., 24mm or 35mm)
A wide-angle lens is essential for those sweeping ceremony shots and capturing the grandeur of the venue. It also adds context to storytelling images, showing not just the couple but the emotion in the crowd or the intricate décor.
Standard Zoom (e.g., 24-70mm)
This lens is incredibly versatile. I can move from a wide group shot to a mid-range portrait without changing lenses. It’s my go-to when I’m moving around quickly—especially during getting-ready moments or on the dance floor.
Portrait Lens (e.g., 50mm or 85mm prime)
A prime portrait lens produces stunning bokeh and sharpness, making it perfect for intimate couple portraits and detail shots. I love how it captures expressions and emotion up close without distortion.
Telephoto (e.g., 70-200mm)
For ceremonies or speeches when I need to keep a respectful distance, my telephoto lens comes in handy. It allows me to capture genuine reactions without drawing attention away from the couple.
III. FLASHES
When natural light isn’t enough—such as during an indoor reception or nighttime portrait session—I rely on a speedlight or off-camera flash setup. Having the ability to control and shape light makes a huge difference in final image quality. Bouncing a speedlight off a wall or ceiling can produce a softer, more flattering light, while off-camera flash can add drama and depth to reception shots or evening portraits.
Helpful Tip: Practice with different light modifiers (e.g., diffusers, softboxes) before the big day, so you’re comfortable adjusting your setup on the fly.
MY MAIN: Canon Speedlite 430EX II
MY BACK-UP: ESDDI Camera Flash for Canon
IV. CAMERA BAG
I LOVE my Wandrd Camera Bag! It has adjustable cushioned spaces, a laptop slot for travel, and lots of fun pockets! It comes in lots of fun colors. It also is incredibly durable for a variety of weather. I also always carry a belly bag with me on wedding days to keep extra batteries and SD cards (and any other random items) with me at all times.
V. MISCELLANEOUS ITEMS
CAMERA BATTERIES - Carrying fully charged backups is a must. Weddings can be long, and you never want to run out of power mid-ceremony or during key moments.
LEATHER HARNESS STRAP - for when I shoot with two camera bodies. Comfortable, sturdy straps are essential. I prefer cross-body or harness-style straps that distribute weight evenly, reducing strain during extended shoots.
WRIST STRAP - I get asked about this ANY time I post a pic of my camera. This wrist strap gives me so much movement and flexibility when I’m shooting with one body! 10000000 % recommend! Even though it says for Sony, it works perfectly with my Canon.
CF CARDS + SD CARDS - These are my favorite brand and size, I stock up on them!
I never compromise on memory cards. I choose high-capacity, high-speed cards from reliable brands to minimize the risk of corruption and ensure I can keep shooting during fast-paced wedding events. Backing up files is equally important—I use dual-card slots whenever possible, plus external hard drives, to secure the images as soon as they’re captured.
DURABLE CARD HOLDER - I have 3 of these, it helps me stay organized and protect back ups!
CHARGER - I always keep 2 extra battery chargers in my bag just in case.
PORTABLE PHONE CHARGER - I like keeping one of these in my bag just incase I need one during a long wedding day.
MY FAVE MUST-HAVE SNACK - Peanut Butter protein bars… YUM. Freakin’ yum. I always try to keep a pack of these in the house to grab one and put in my bag for any shoot!
WATER BOTTLE - Hydrate up!!! I take my Camelbak water bottle with me always, it’s easy to grab a quick sip at a shoot and not to clunky to carry around with me.
Invest in quality gear —
Weddings are once-in-a-lifetime events, and couples place enormous trust in their photographer to preserve those memories. High-quality gear not only improves image sharpness and color rendering but also offers peace of mind. Reliable equipment lets you focus on creativity instead of worrying about potential gear malfunctions.
Balance Tip: While it’s tempting to buy every new gadget, choose gear that truly enhances your workflow. Sometimes a well-curated kit is more valuable than a bag overflowing with unused equipment.
No two weddings are alike, and that’s what makes this job so rewarding. Having the right gear, from reliable camera bodies to versatile lenses, is crucial for adapting to any situation and capturing every fleeting moment. My current setup reflects years of testing and learning what performs best for me, but I’m always open to trying new gear that could enhance my clients’ experience.
If you’re building or refining your own wedding photography kit, consider the unique demands of this fast-paced environment and choose tools that will help you excel. Your gear should ultimately support your creative vision—so you can focus on celebrating the couple and their love story, one unforgettable image at a time.
MY DESK GEAR MUST HAVES —

I. HARD DRIVES
WD HARD DRIVES - These have been my FAVORITE hard drives I’ve ever used! I have never (knock on wood) had a problem with them! They run so well and are incredibly affordable! I get a new 2 TB one each year and label them with masking tape and sharpies for organization. I also am not permanently attached to my SanDisk 4TB SSD — I work off of this hard drive almost exclusively and have multiple for backups.
II. CARD READER
MULTI-CARD-TYPE READER - If you use CF cards or any other type of card than an SD card, then you know the struggle of downloading your images. This reader has been a life saver! It can read all of these: CF, CFI, TF, SDXC, SDHC, SD, MMC, Micro SDXC, Micro SD, Micro SDHC, MS, UHS-I.
III. PHONE STAND
BAMBOO PHONE HOLDER - No, this isn’t technically gear, but it has to do with gear - my phone! I get WAY too distracted if my phone is just laying on the table next to me. This holder, as dumb as it may sound, allows me to put my phone in it and set it aside - physically and mentally! It’s been helpful for me, maybe it’ll help you too…??? Haha!
In the end, the best gear is the gear that supports your artistic vision and serves your clients’ needs. Invest wisely, stay curious, and let your passion drive you toward the next level of wedding photography.